How to Paint Blend for Miniatures: Unlock the Power of Seamless Color Transitions
If you’ve been painting miniatures and models for any length of time, you know that blending colors smoothly is one of the most essential yet notoriously difficult skills to master. As someone who has spent over 20 years experimenting with countless blending techniques across hundreds of miniatures, I want to let you in on everything I’ve learned.
In this comprehensive guide from Warhammer Universe, I’ll be showing you my 8 favorite advanced blending methods to take your models to the next level. Smooth, flawless blends will make even a basic paint job pop and bring out realistic color gradients in organic textures like skin, fur, feathers, and fabrics.
Whether you’re working on a tiny 25mm figurine or hulking tank model, blending is the secret ingredient to making your miniatures look professionally painted. From dry brushing to wet blending and beyond, I’ve road tested the full spectrum of blending techniques – and I can’t wait to help you unlock their advantages (as well as pitfalls to avoid!).
So grab your favorite miniature that needs some color blending TLC, pull up a paint brush, and let’s dive in as I walk you through my best blending tips and tricks in this stuffed-to-the-gills guide.
Looking for Paint Sets to get you started? Read our full guide here for The Best Paint Sets for Warhammer Miniatures
How to Paint Blend for Miniatures: The Perils of Poor Blending
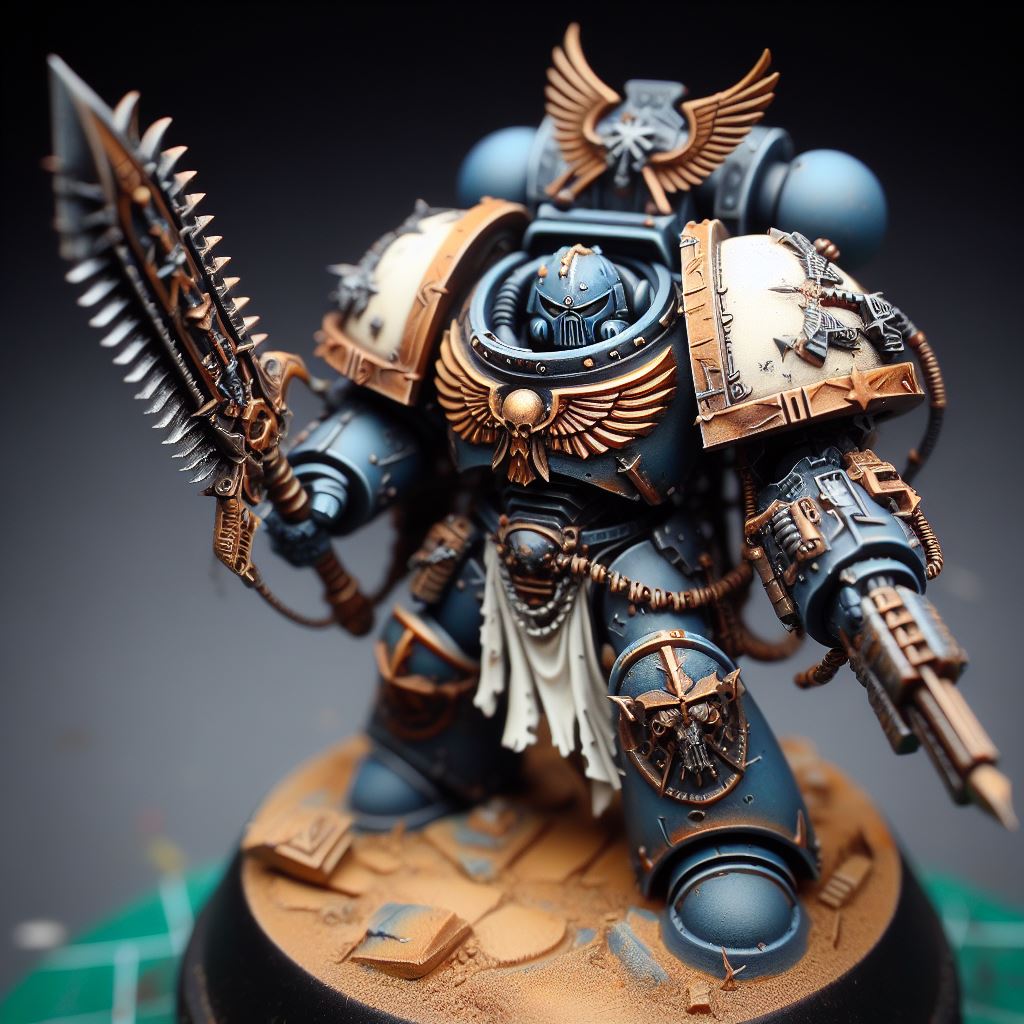
Before jumping into the techniques, I first want to demonstrate why blending properly makes such a massive difference. Take a look at this old orc miniature I painted when first starting out:
You’ll notice the abrupt, muddy-looking transitions in the skin tone due to blending issues. As you apply base coats, mid tones, shadows, and highlights, it’s crucial to gradually transition between color layers.
Otherwise, you end up with a “dirty” look from rings of mismatched pigmentation stacking up. Not pretty! Dry brushing stark white highlights on top only exacerbates the problem.
To avoid this eyesore, we need to master smoothly “wetting” together adjacent colors through a range of blending methods. With practice, you’ll be able to achieve flawless gradients where new shades emerge seamlessly from the last.
How to Paint Blend for Miniatures: The Blending Basics
At its core, blending refers to the process of building gradual transitions between two colors, values, or tones. You apply multiple thin layers of paint, slowly shifting the hue, to “wet” together a smooth gradient.
Mastering the nuances of how acrylic pigmentation behaves proves essential here. Factors like paint opacity, viscosity, drying time, surface tension, capillary action, and more all play a role!
Luckily experience proves the best teacher – so let’s dig into my favorite techniques to start honing those blending skills.
-
Dry Brushing
Dry brushing makes a perfect introductory blending technique. As the name suggests, you first wipe the loaded brush on a paper towel or finger nail to remove excess fluid paint. This leaves just a small amount of thicker pigment clinging to the bristles.
Read a full guide here on How To Dry Brush Miniatures
You then sweep that “dry” brush lightly over raised areas you wish to highlight, letting capillary action pull the paint onto edges and textures. Apply gradual layers to build up color intensity and create smooth transitions.
I like to start light, focused passes before broadening my brush strokes for wider coverage. Repeating this technique by shrinking the highlights with each pass creates seamless blends.
Dry brushing proves excellent for textured organic material like fur, feathers, scales, cloth, or chainmail. And you needn’t invest in fancy brushes – cheap stiff synthetic brushes apply perfect for this!

-
Layering
The layering technique refers to applying successive thin coats of paint, each extending slightly past the last to create subtle transitions between hues.
I like to start with a basecoat shade slightly darker than my midtone color. I then mix small amounts of water into my midtone paint on a wet palette to thin it out into a glaze. This transparency allows the underlying basecoat to show through. A full guide is available here on How To Layer Paints for Miniatures
I apply a series of thin layers, leaving a portion of the previous layer exposed each pass. Each slightly broader stroke lightens the base coat until I build up to the solid midtone I want. I continue repeating this process with my highlight shade to complete the blend.
Layering gives incredible control compared to messier techniques like wet blending. But all those thin careful layers proves incredibly time consuming. With practice though, you can strikes a balance between quality and efficiency!
-
Glazing
Similar to layering, glazing relies on thin translucent layers of paint. But instead of shifting colors, you’re subtly tinting the existing layer beneath by letting previous coats show through. This creates ultra smooth gradients.
Glazing mediums prove extremely useful here. By adding blending medium like Lahmian Medium to my paint, I can apply shades far thinner than water alone allows. This lets the semi-transparent layers build slowly upon each other into gorgeous blends.
Because glazing utilizes multiple semi-sheer coats, keeping paint from drying on your palette proves essential. I swear by wet palettes here! The damp paper keeps acrylic workable for hours. Be sure to apply glazes swiftly though before they dry mid-blend.
Lost on what glazing is? Read here for a guide on What Are Washes And Glazes for Miniatures?
-
Two-Brush Blending
As the name implies, the two-brush blending technique employs one brush to apply a thick layer of paint to your model before immediately smoothing it out with a second moistened brush. The result – effortless blends even between disparate colors.
Here’s the method in brief: Apply the first paint layer to be blended with Brush A. Immediately use Brush B, wiped with water or saliva, to manipulate the wet paint and create your desired transition.
The key to preventing ugly mismatched rings lies in blending adjacent layers before the paint dries. Saliva (as gross as it sounds) works wonderfully here given the enzyme amylase breaks down those rings! But blending mediums also suffice.
While the results won’t be competition-level flawless, two-brush blending allows skipping the tedious layers required of other methods. This makes it a top choice for speed painting enthusiasts who value time over perfection.
-
Loaded Brush and Feather Blending
Both loaded brush and feathering methods employ a single brush to combine multiple wet paints. The difference lies in brush preparation.
With loaded brush blending, you load one color on the belly of the bristles before dragging through a second color to coat just the tips. As you apply a stroke then, the blend emerges automatically as the bristles unload!
Feather blending relies on rapid zig-zagging motions as you work back and forth across a wet boundary of two adjacent colors. This mixes them into a seamless gradient with a feathered look (hence the name).
Of all the techniques here, I consider loaded brush and feathering blending the most versatile. Their ability to quickly mix unique color combinations make them ideal for realistic special effects like fire, rust, glowing metals, bruised skin, and more!
-
Stippling
Ever painted color transitions using nothing but dots? That’s stippling! You apply small touches of paint across an area using a sponge or stiff brush. This builds up texture and blends tones.
Try dabbing on some dark paint where you want shadows. Then switch to lighter dots moving up to your desired highlight area. The dots will blend together into tonally shifted gradients.
Stippling works wonderfully to depict textures like skin pores, rust, or fabric weaves too. I also use stippling to softly blend finishing washes over existing blends by modulating the base tone. Definitely experiment with this underutilized technique!
-
Airbrushing
While airbrushes require an equipment investment, no blending method achieves smoother feathered gradients on large flat surfaces. The fine mist of atomized paint allows far more subtle pigment transitions than possible by hand.
Practice controlling the spray pattern across varied angles and distances though – it takes finesse! Getting comfortable with how thinning agents and psi pressure affect overspray control proves essential. But once mastered, spectacular fades and color shifts emerge easily.
As an advanced technique however, airbrushing doesn’t quite teach you the nuanced hand skills needed for brush blending. So while powerful, don’t rely solely on airbrushed transitions. Master fundamental color mixing aesthetics manually first!
-
Wet Blending
Considered the Holy Grail by expert painters, true wet blending creates flawless transitions seemingly impossible by other means. The secret? Physically mixing two wet paints directly on the model before they dry.
Here’s what to do: Apply two adjacent colors you wish to blend on the model surface while wet. Leave a small gap between them. Then, use a clean damp brush to literally mix the colors in that gap while wet. Done right, no transition remains visible!
This does require perfect paint viscosity and working incredibly swiftly wet-in-wet. Opaque colors like whites and yellows prove far harder to blend smoothly this way. But with enough practice, wet blending grants stunning tabletop quality.
While all these techniques present pros and cons, don’t fixate on struggling with just one! Mastering several interchangeably will prove infinitely more versatile. Your specific blending needs should dictate what project areas pair best with which technique.
After accumulating two decades worth of experience across hundreds of paint jars, I definitely didn’t nail blending overnight! Be patient with yourself while practicing and experimenting. That’s half the fun!
How to Paint Blend for Miniatures: Quick Tips for Learning to Blend
- Mind the Angle – Always pull blended brush strokes perpendicular to the blending boundary to avoid ugly brush texture distortions messing up gradients.
- Embrace Failure – Don’t obsess on flawlessness. tabletop quality blends still prove stunning from a few feet away. Progress over perfection!
- Get Up Close and Personal – Step away frequently when blending to evaluate transitions at the actual tabletop gaming distance, not with your nose inches from the model.
- Think in Layers – Look at each armor panel, limb, wing, weapon, etc as separate blending exercises. Unique lighting and shape means exclusive blending needs per section!
- Thin is In – Whether layering, glazing, wet blending, or anything in between, properly prethinning your paint proves positively paramount!
We also recommend Zumikito Miniatures for more paint blending tips!
So grab a miniature needing some blending refinement and try applying a few of these techniques today. Still hunger for more blending knowledge? Expand your skills further by taking one of my popular 2 hour private virtual painting lessons! Reach out anytime – let’s take your minis to the next level together.
Keep an eye out for my upcoming article uncovering pro tips for painting realistic eyes on miniatures too. For now, happy blending and may your paint pots never dry!