The Best Way to Unglue and Strip Paint from Warhammer Miniatures
As an avid warhammer hobbyist and painter with over 20 years of experience working with miniatures, I often need to strip models down to bare plastic and metal to correct paint jobs gone awry or to repaint old, damaged figures.
Over the years, through much trial and error, I’ve learned reliable techniques using common household chemicals that safely and effectively remove stubborn acrylic paints and super glues without harming even delicate miniatures.
In this guide, I’ll share everything I wish I knew starting out – how to easily strip paint and unglue components using brake fluid, acetone, concentrated cleaners, and other handy solvents. I’ve broken the process down into simple step-by-step instructions anyone can follow. And for stuck-on superglue emergencies, my quick tips will save your models and your sanity!
Why Stripping Paint and Glue Removal Matters
Before jumping in, it’s important to understand what stripping accomplishes for your miniatures and why it should be step one before attempting any paint correction or new paint jobs:
Removes Paint Layers – Fully resets the model to bare plastic or metal so new primer and paint adheres properly without chipping or peeling.
Fixes Paint Jobs – Lets you start over if unsatisfied with a paint scheme rather than trying to layer new paint over old.
Repairs Damage – Lifts chipped, worn, and flaked paints from well-loved older models.
Detaches Components – Breaks down super glue allowing you to safely disassemble, modify, or reposition fixed elements and stuck pieces.
Saves Money – More affordable than replacing rare or expensive damaged miniatures.
While stripping requires some safety precautions, with responsible handling, the process can give beloved models new life! Now let’s explore proven chemical options…
Brake Fluid – The Nuclear Option
Without a doubt, brake fluid reigns supreme at obliterating acrylic model paints and superglues – I consider it the nuclear option when only total paint destruction will do!
As a soak, brake fluid rapidly penetrates paint layers, dissolving them into a scrapeable mess after 12-24 hours of full immersion. The liquid retains strength through many uses so one bottle goes a long way. It even temporarily gelatinizes superglue bonds, allowing brief separation of parts before they re-harden.
Potency comes paired with higher toxicity and flammability than other chemicals. So wearing gloves and working in a well-ventilated area is mandatory. I also recommend secondary containers to avoid spills and securely sealing the bottle after every use.
But with responsible handling, brake fluid is safe, effective, and inexpensive compared to commercial hobby strippers. Just be sure to follow my soak and scrub process below to leverage its strength:
Brake Fluid Stripping Process
Supplies Needed:
- Brake fluid
- Disposable gloves
- Plastic container
- Toothbrush and toothpicks
- Paper towels
Step 1) Fill plastic container with enough brake fluid to submerge the miniature.
Step 2) Place the model in the fluid, ensuring it’s fully covered.
Step 3) Seal container and let soak 12-24 hours for full paint penetration.
Step 4) Remove model, reseal brake fluid, wash hands thoroughly after glove removal
Step 5) Scrub with toothbrush and picks, avoid extensive water rinsing.
Step 6) Spot check for remaining paint, repeat soak & scrub if needed.
Step 7) Once paint free, wash with soap and water, allow to fully dry. The model’s now ready for priming!
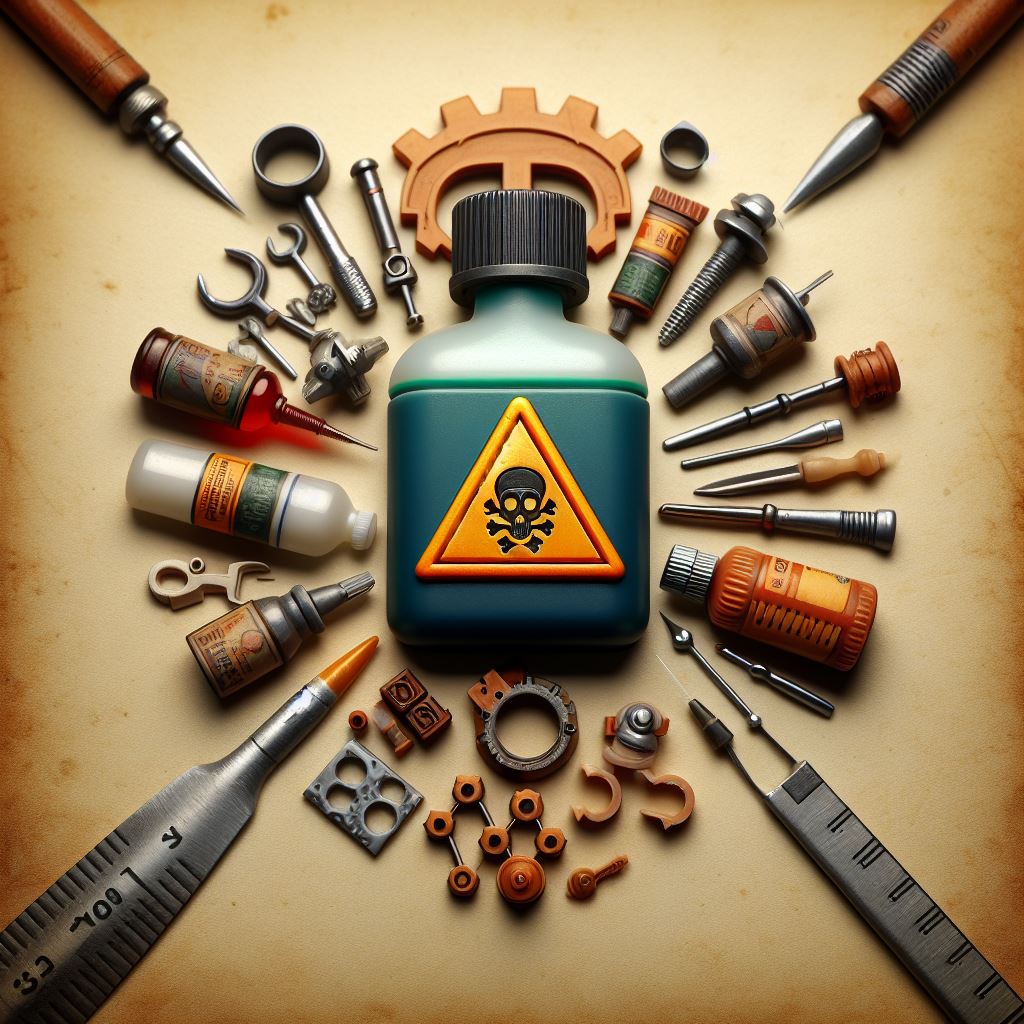
Acetone – Fast Acting But Tricky
Found in hardware stores and nail polish remover, acetone has an unrivaled ability to rapidly permeate even thick acrylic paint layers. But its volatility also makes it challenging to utilize for full miniature immersion without expensive commercial bath systems.
I mainly rely on acetone for spot paint stripping – situations where just one small area needs correction. With careful handling, a 5-10 minute partial soak followed by stiff brush scrubbing lifts paint effectively. It also temporarily dissolves super glue bonds for quick part detachment.
However, acetone requires working in a well-ventilated area due to harsh fumes. Spills pose a risk to plastic containers and models if left too long. Plus, the chemical evaporates quickly losing effectiveness if not tightly sealed. So small-scale usage works best.
For spot fixing paint mistakes without damaging details on intact areas, keep acetone on hand. And follow my abbreviated process:
Acetone Spot Stripping
Supplies Needed:
- Acetone
- Disposable gloves
- Metal or acetone-safe plastic container
- Paper towels
- Stiff bristle scrub brush
- Tweezers
Step 1) Line container bottom with paper towels and add acetone.
Step 2) Partially immerse model for 5-10 minutes.
Step 3) Remove model and let sit 10 minutes further dissolving paint.
Step 4) Scrub with stiff brush to lift paint, avoid thinner pieces.
Step 5) Use acetone-soaked swab to spot treat any leftover paint.
Step 6) Fully dry model before repriming or painting.

Concentrated Cleaners – Safer But Slower
For stripping paint sans harzardous chemicals, concentrated cleaners like Simple Green work perfectly – though require longer to penetrate paint. I often use them for large batch paint removal jobs.
Long 6-12 hour soaks in concentrated cleaner loosen acrylics for scrub away. And without dissolving plastic, I find them safer for rare, sentimental, or easily damaged miniatures too. The one exception is bare metal components which may exhibit difficult to remove staining even after thorough cleaning.
Besides being safer and better smelling, concentrated cleaners are also reusable over many stripping sessions just like brake fluid. For me, they strike the ideal balance between safety and effectiveness when I’m not in a rush.
Give them a try with my straightforward procedure:
Concentrated Cleaner Stripping
Supplies Needed:
- Concentrated cleaner like Simple Green
- Plastic container
- Soft bristle scrub brush
Step 1) Fill container with undiluted concentrated cleaner
Step 2) Fully immerse the miniature
Step 3) Let soak 6-12 hours allowing paint penetration
Step 4) Remove, gently scrub with soft brush
Step 5) Repeat long soaks & scrubbing to fully strip
Step 6) Rinse soap and water, allow to dry fully
Saving Super Glued Models
Even experienced modelers eventually end up with accidental super glue bonds in the wrong spots. Panic sets in worrying you’ve wrecked an expensive miniature. But don’t lose hope!
With fast action using handy household solvents, you can dissolve even bullheaded super glue. Below are my best emergency tips for seamlessly removing errant glue from plastic and saving your model.
WD-40 Simply spray WD-40 directly on glue bonds, let penetrate 5-10 minutes, then wipe sticky residue away with a damp rag – model saved! The lubricant dissolves glue with less risk to plastic than solvents.
Rubbing Alcohol Like WD-40, apply rubbing alcohol and let it work for 5-10 minutes before wiping. It may require repeats for thicker glue but persistently breaks bonds over time.
Nail Polish Remover Thanks to acetone content, nail polish remover acts as mini-super glue solvent. Soak the bonded spot for 1-2 minutes then gently scrape away dissolved glue with a dull hobby knife.
Avoid extended immersion which can melt plastic. But when used judiciously, it dismantles glue rapidly.
White Vinegar Less viscous super glue bonds can simply be submerged in white vinegar for 5-10 minutes to dissolve them sans harsh chemicals. Then scrub away residue with an old toothbrush. It may require repeats but vinegar’s gentle and effective.
Now Super Glue Doesn’t Seem So Scary!
As you can see, dissolving paint and destroying glue bonds on miniatures is totally doable using common chemicals and some strategic soaking.
While stripping requires planning and safety considerations, the ability to revive damaged models or salvage paint job mistakes makes it an invaluable skill.
I hope my decades of trial and error help you skip frustrations and move straight to flawlessly stripping miniatures like a pro!
If you try these techniques, let me know how they work for you over on the Warhammer Universe Youtube channel! And as always, if you need any other modeling, building, or painting advice for your miniatures, drop me a line in the comments.
Happy Immersing!