How to Airbrush Glaze Miniatures: Mastering Color Blending Like a Pro
My over 20 year passion for painting miniatures began when I started playing tabletop RPGs like D&D and became obsessed with creating stunning custom paint jobs to bring my characters and armies to life. I quickly realized that mastering advanced techniques would enable me to better infuse my own personality, realism, and life into every model.
After years of experimentation, I can say with (some) confidence that learning to thin and airbrush transparent glazes over pre-shaded miniatures is one of the best skills any hobbyist can develop for efficient, professional-looking results. The adaptability of glazes provides almost endless choices and design paths you can take.
In this extensive guide from the experts at Warhammer Universe, both beginners and seasoned painters will discover everything they need to know about successfully preparing and applying airbrushed glazes to miniatures, including:
- Mixing the Perfect Glaze Consistency
- Zenithal Pre-Shading for Underlying Contrast
- Steps for Flawless Directional Glazing
- Choosing Complementary Glaze Color Schemes
- Customizing Glazes for Materials Like Metal, Cloth, Skin, Gems
- Innovative Basing and Lighting Effects
- Advanced Special FX Like Fire, Reflections, OSL
So grab your airbrush and let’s get started! This article will transform how you use acrylic paint forever.
Don’t have any Airbrush? Read here for The Best Airbrushes for Miniatures
How to Airbrush Glaze Miniatures: Part 1 – Mixing Ideal Airbrushable Glaze Consistency
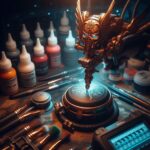
The first key step is preparing properly thinned acrylic paint glazes that spray smoothly from your airbrush without drying too quickly or clogging the tip. While companies sell premade glaze paints, you can easily mix your own.
To dilute regular acrylics into optimal semi-transparent glazes, you’ll need:
- Airbrush thinner – Improves flow and sprayability
- Flow improver – Enhances transparency
- Water – Increases dilution
I recommend mixing 5 parts colored paint, 4 parts thinner, and 1 part flow improver into an opaque custom bottle. This creates the perfect glazing consistency. The mixture sprays beautifully while retaining enough body to blend smoothly once applied.
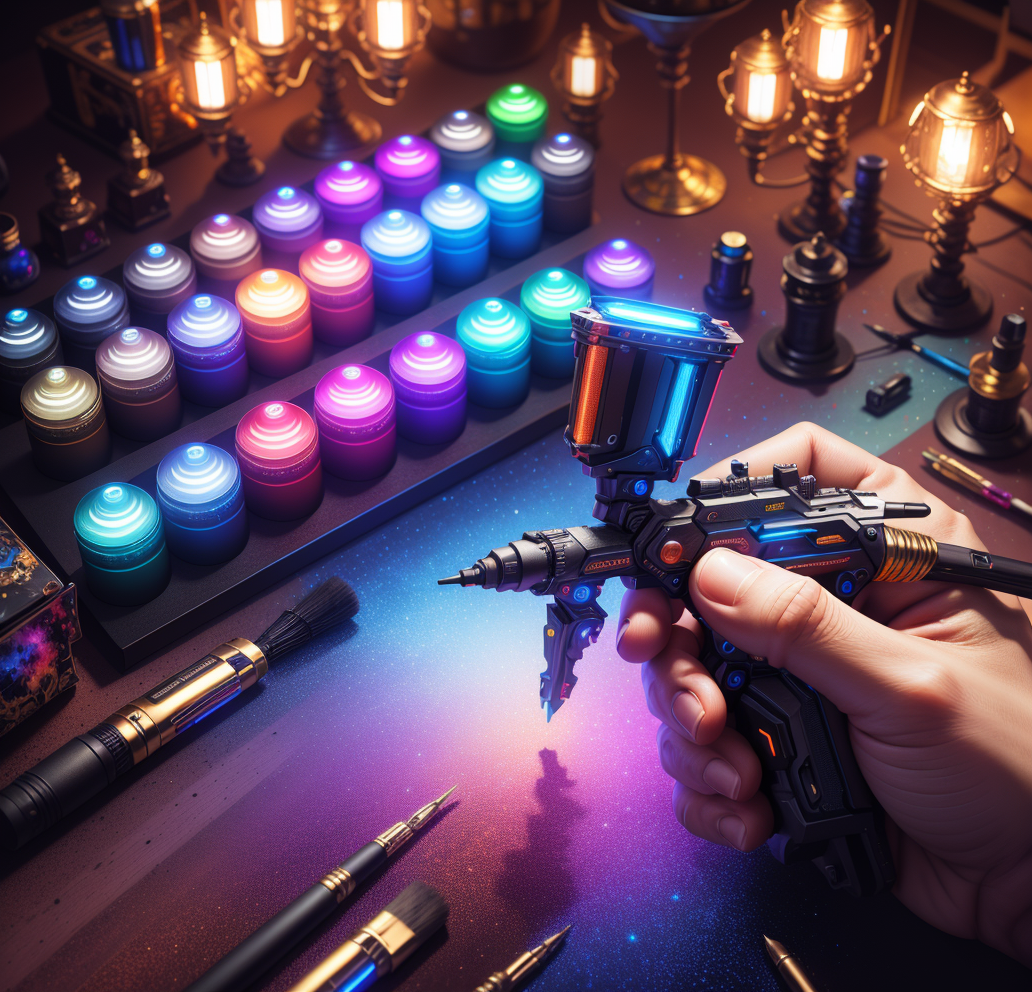
Prepare multiple glaze colors in advanced batches so you have a variety ready to load into your airbrush as needed. Great starter options include primary mixtures like red, yellow blue or green, purple, black and white for maximum blending potential.
How to Airbrush Glaze Miniatures: Part 2 – Zenithal Pre-Shading to Establish Contrast
Before spraying any transparent glazes onto a miniature, it’s important to first establish strong tonal contrast using a process called zenithal highlighting.
Zenithal pre-shading means airbrushing the entire model black first, then hitting it evenly from directly above with white ink or paint to create subtle highlights that trace the raised edges and surfaces. This quickly establishes dimensionality.
Pre-shading this way provides light and shadow areas for transparent glazes to play off of. Without this tonal foundation, glazes would become opaque by building up thickness until eventually obscuring any form or detail instead of enhancing it.
I recommend removing miniatures from bases and attaching them to movable mounts for easy access from any angle when zenithal highlighting and glazing. Rotation ability is key.
How to Airbrush Glaze Miniatures: Part 3 – Steps for Flawless Directional Glazing
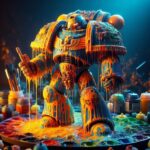
After zenithal pre-shading, we can start the really fun part – directional glazing! This process involves spraying semi-transparent colored glazes over our black and white contrast from varying extreme angles to achieve spectacularly smooth, and lunar effects
Always allow layers to fully dry between applications for best results. Patience and very thin builds yields better blends
- Spray darker glaze colors from underneath the mini, tinting the shadows
- Hit surfaces from above with bright glazes to color highlights
- Blend mid-tones by spraying accent glazes from the sides
With practice, astonishingly seamless contrast and color transitions appear across entire models within minutes! Directional glazing astounds me every time, I’m always not sure if I’ve done it correctly but it always comes out correctly.
How to Airbrush Glaze Miniatures: Part 4 – Choosing Complementary Glaze Color Harmony
One golden tip when it comes to picking glaze colors for blending is centering your selections around the fundamentals of color theory. Remember – glazes work by optically modifying the pre-shaded black and white contrasts beneath them rather than covering entirely. This transparency provides tons of color shifting potential.
Some combinations I recommend:
- Warm glazes like red, orange or yellow for vibrancy. Cool blues and purples work wonderfully in shadows, increasing the apparent warmth through visual temperature contrast
- Analogous colors (near each other on the color wheel) for smooth, gradual blends
- Complementary color pairs (opposites) gain intensity when blended well
- Accent glazes (a third color) can unify transitions beautifully
Additionally, keep in mind the psychological and aesthetic impacts of your palette and how that sets the overall mood. Event black and white gain drastically different emotion when tinted!
We recommend this video here for more tips on Glazing!
How to Airbrush Glaze Miniatures: Part 5 – Custom Glaze Effects for Different Materials
One remarkable benefit of airbrushed glazes is the ability to mimic a wide variety of realistic material textures depending on your layering technique and colors selected. Always start by pre-shading, then build transparent layers.
Here are some examples:
- Metal – Spray black, brown and silver from varying angles over light and dark contrast for convincingly weathered effects
- Cloth – Use lots of red, purple and blue washes for smooth blending, adding white highlights
- Skin – Blend flesh tones starting with brown and red shadows up through peach and cream highlights. Accent with reds or blues sparingly
- Gems – Slowly layer gradients of translucent glazes over white bases for a glowing crystal effect
- Water – Coat high gloss varnish black, then overlay blue and white glazes blended smoothly
With creative color mixing and custom combos, even more realistic material textures emerge through multi-toned directional glazing!
Want to try Metallic paints? Read our full guide here on How To Airbrush Metallics on Miniatures
How to Airbrush Glaze Miniatures: Part 6 – Lighting and Special FX Magic Tricks
My favorite aspect of airbrushed glazes has to be the lighting, weathering and special effects you can create through selective transparent layering. With some practice, here is just a taste of what’s possible:
- Fire – Use yellow, orange and red glazes sprayed heavily from beneath, slowly brightening upwards with white accents for flickering flames
- Light Reflections – Subtly blend small tints of green, blue or purple where environmental colors would logically reflect onto glass, armor or weapons
- Mystical Energy – Make swords, staves or monster eyes glow fantastically by glazing fluorescent paints over bright white or silver
- Weathering – Add rain marks, dirt spatters and rust corrosion using controlled stippling and speckling application tricks
If you enjoy pushing possibilities like me, I demonstrate even more unbelievable glazing feats like reptilian skin textures, pulsating demonic faces and swirling vortex portals on my YouTube channel. The options stretch as far as your imagination can reach!
Understanding Glazing now? Great! Read here for How To Airbrush Blend For Miniatures
Conclusion
I hope you’ve enjoyed this all-encompassing guide to artistically utilizing airbrushed transparent glazes on miniatures and models. While glazing requires practice, the stunning results make it well worth the effort to master. Remember – patience and thin layers equals painting success! Let me know if you have any other questions – 420 glaze it!
Related posts:
 Airbrush Vs Brush Painting Miniatures: Inspiring You to Become a Painting Maestro
 Airbrush Maintenance & Cleaning for Miniatures: Power To Save Your Airbrush (5 Tips)
 What PSI Should I Airbrush Miniatures At?: The Perfect Number 1 Guide
 Beginner Equipment Set for Airbrushing: The 12 Essential Tools to Beautify Your Miniatures


