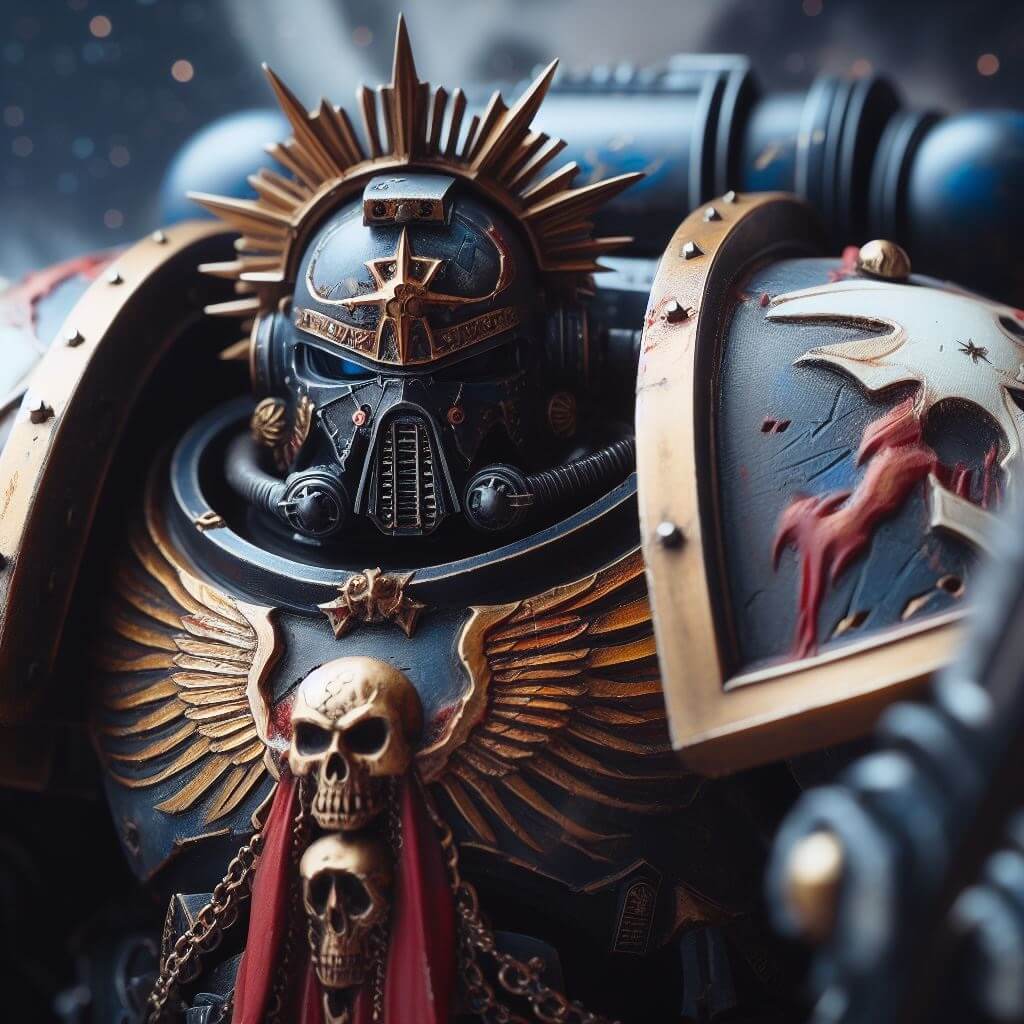
How to Airbrush Blend for Miniatures: The Complete Guide
This versatile technique can help create smooth, professional-looking blends on miniatures with relative ease compared to traditional brush blending. Whether you’re new to the hobby or looking to improve your skills, read on as I walk you through everything you need to know.
What is Airbrush Blending?
Airbrush blending refers to creating smooth color transitions on a surface using an airbrush to apply multiple thin layers of slightly different colored paints. It’s similar to classic layering techniques but much faster thanks to the fine spray of atomizer paint.
Rather than repeatedly brushing to try blending colors, you simply spray light coats of paint building up from dark to light. The airbrush does the actual “blending” work for you. Even as a beginner, you can achieve pro-level blends this way.
How to Airbrush Blend for Miniatures: Benefits
Compared to brush blending, airbrush blending offers some major advantages:
- Smoother, more natural-looking gradients and transitions
- Blends large areas much faster than brushing
- Easier to control with practice
- Creates pro-level effects with less effort
- Great for OSL (object source lighting) effects
For these reasons, airbrush blending is a must-have technique for efficient, high-quality miniature painting. It can save countless hours trying to blend colors by hand.
How to Airbrush Blend for Miniatures: Best Surfaces
Airbrush blending works best on:
- Large armor pieces and skin areas
- Models with big, flat surfaces like Space Marines
- Surfaces that can be easily masked off
- Large models like monsters and TAGs
- OSL lighting effects
It’s not as suitable for:
- Highly-detailed models with intricate textures
- Models with many different small surfaces
But with proper preparation and masking, airbrush blending can still work on more complex miniatures.
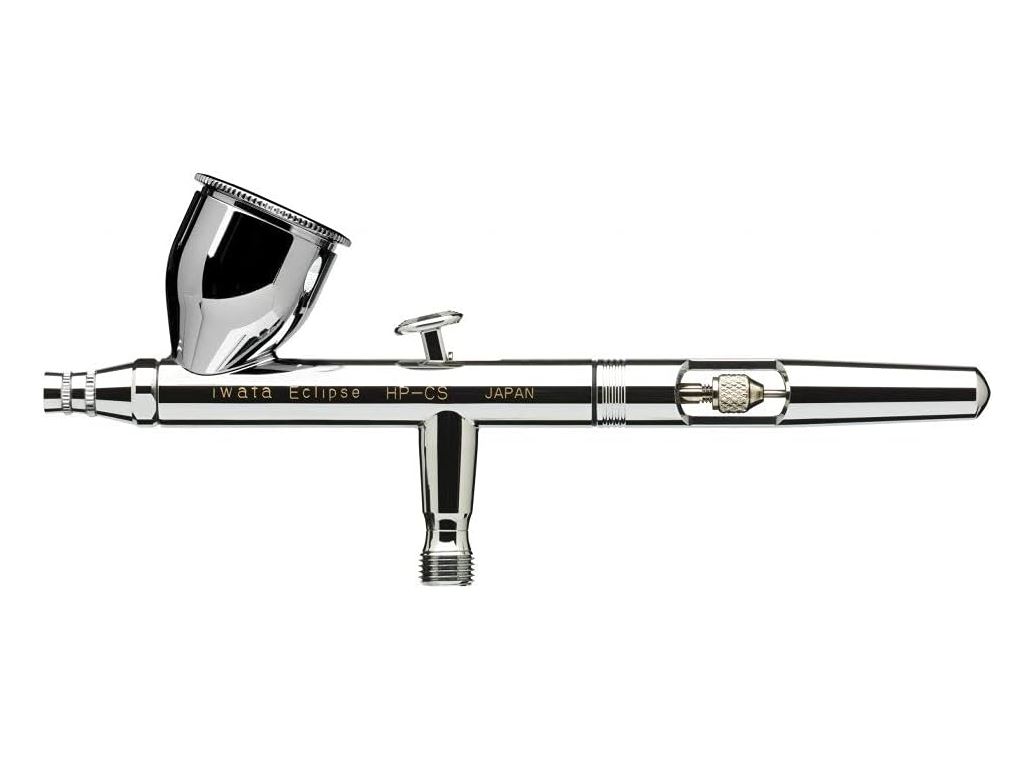
How to Airbrush Blend for Miniatures: Choosing an Airbrush
For airbrush blending, you’ll want a gravity-feed dual-action airbrush like the Iwata HP-CS or Badger Patriot 105. These reliable beginner airbrush models have nozzle sizes around 0.3mm, which is less prone to clogging when spraying thicker hobby paints.
A gravity feed design allows lower air pressure operation for better control. And the dual-action mechanism gives you independent control of airflow and paint flow. This finesse lets you achieve perfect blends.
Many good starter airbrushes also let you easily switch nozzle sizes for different applications. A 0.2mm nozzle can handle very fine detail work. While a 0.4mm+ nozzle speeds up larger basecoating jobs.
I recommend getting an airbrush with interchangeable nozzle sets so you can tackle different painting tasks.
Read our full overview on The Best Airbrush for Miniatures
How to Airbrush Blend for Miniatures: Step-By-Step
Follow these steps to achieve perfect blends when airbrush painting miniatures:
- Prepare Surface and Choose Colors
Clean the model surface so paint adheres well. Then decide on 3-5 colors for your blend from dark to light (more colors = smoother blend).
- Airbrush Base Layer
Start by spraying the midtone color first over the entire surface area, leaving more opacity on upper facing surfaces. This automatically creates basic shading.
- Airbrush Shadows
Next, spray very dark shadows using a color like black, brown or dark blue. Slightly exaggerate this layer, focusing on areas you want darker.
- Re-Apply Midtone
Spray the original midtone color again on most of the surface to smooth out the exaggerated shadows.
- Airbrush Highlights
Finally, make several passes with progressively lighter paint mixes to build up bright highlighted areas. Focus the spray in a tight area to prevent overspray.
- Consider Adding Details
You can leave the blend as is, or use regular brush painting to add details like edge highlighting, battle damage, freehands etc.
As you practice, you’ll develop a feel for how far back to pull the trigger for different opacity effects. Controlling the paint flow takes finesse, but you’ll be cranking out silky blends in no time!
Still looking for more tips? Read our Airbrush Miniatures Beginners Guide
Tips for Better Airbrush Control
It takes practice to master mixing the right air-paint consistency. But here are some quick tips:
- Always press the trigger down first for airflow before pulling back to release paint. This prevents spitters.
- Use the “skin dimple” test to gauge good airflow pressure. The spray should slightly dent skin.
- Thin paints properly to a milk-like viscosity. Too thin splatters, too thick sprays chalky.
- Adjust distance, pressure, flow, and thinning ratio to control results.
- Consider getting a macro valve attachment to easily regulate pressure.
How to Airbrush Blend for Miniatures: Masking Techniques
When working with intricate miniatures, masking is essential to protect areas you don’t want to be affected by the airbrush. Here are some masking methods and materials to consider:
Masking Tape: Use low-tack masking tape to cover larger areas. Apply the tape carefully to avoid leaving residue or damaging the paint underneath.
Liquid Mask: Brush on liquid mask to protect small, hard-to-reach areas. Once dry, the mask can be easily peeled off after airbrushing.
Putty: Use a kneadable putty, like Blu-Tack, to mask off irregular shapes or create custom stencils for special effects.
When masking, ensure the edges are pressed down firmly to prevent paint from seeping underneath. Remove the masking materials carefully once the paint has dried to avoid lifting off the underlying layers.
Read our full guide on How To get Smooth and Thin Airbrushed Coatings for Miniatures
Paint Thinning Ratios for Different Paint Types
Properly thinned paint is crucial for achieving smooth, even coats with an airbrush. Here are some general thinning ratios to start with for different paint types:
Acrylics: Thin with water or acrylic thinner at a ratio of 1:1 to 1:2 (paint to thinner), depending on the brand and desired consistency.
Enamels: Use enamel thinner at a ratio of 1:1 to 1:3, gradually adding thinner until the paint flows smoothly through the airbrush.
Lacquers: Thin with lacquer thinner at a ratio of 1:1 to 1:2, adjusting as needed for optimal flow and atomization.
Always test the thinned paint on a spare piece of plastic or paper to check the consistency and flow before spraying on your miniature. Keep in mind that factors like humidity and temperature can affect the paint’s behavior, so be prepared to make slight adjustments as needed.
Airbrush Maintenance and Troubleshooting
Regular maintenance is key to keeping your airbrush in top condition and preventing issues like clogging or uneven spray patterns. Here’s a basic cleaning procedure to follow after each painting session:
- Empty any remaining paint from the cup and rinse with the appropriate thinner.
- Fill the cup with cleaner and spray through the airbrush until the spray runs clear.
- Disassemble the airbrush and clean the nozzle, needle, and cup with a soft brush and cleaning solution.
- Reassemble the airbrush and lubricate the moving parts with a small amount of airbrush lube.
Have a good idea for Airbrush blending? Read up now on How to Airbrush Glaze Miniatures
Color Theory and Selection for Blending
Choosing the right colors is essential for creating harmonious, visually appealing blends. When selecting colors for your airbrush blending project, consider the following:
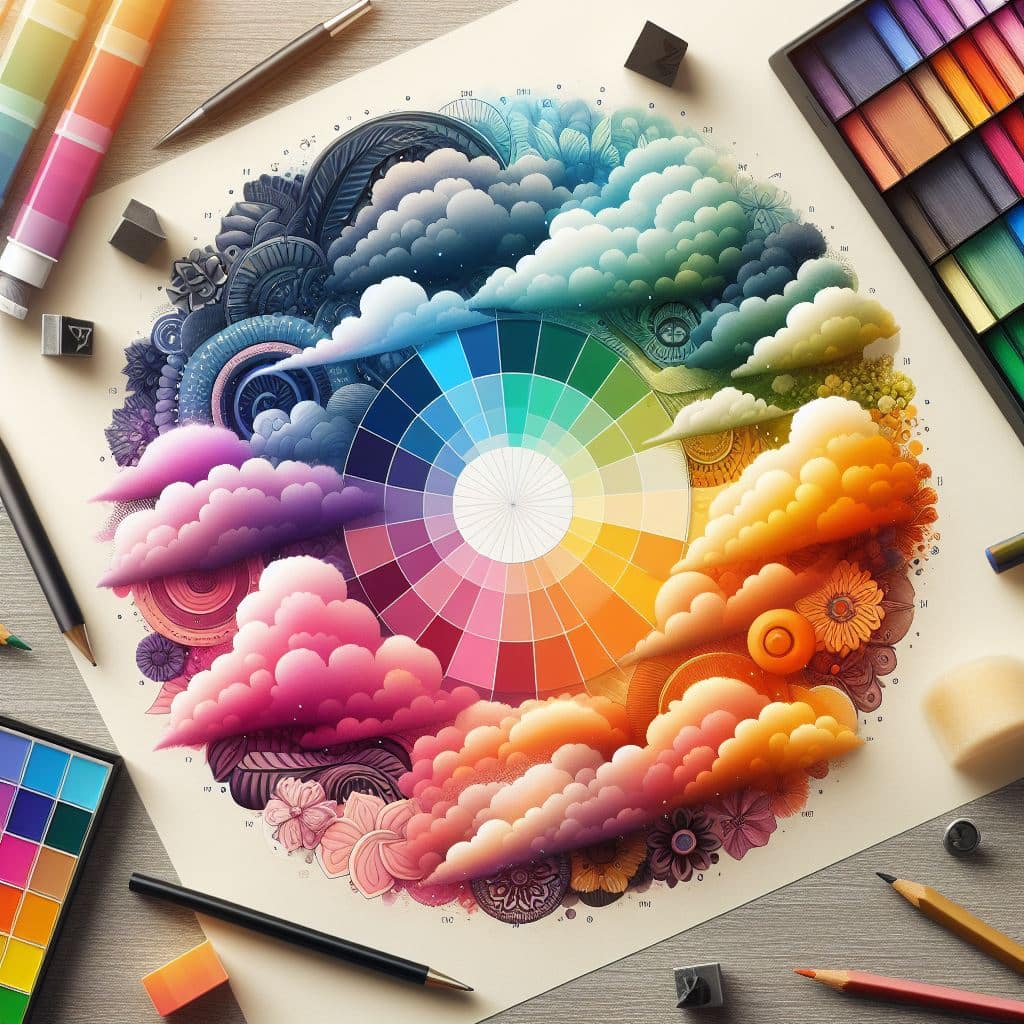
Color Wheel: Use the color wheel to choose complementary, analogous, or triadic color schemes for your blends.
Value: Ensure there is enough contrast between your darkest and lightest colors to create depth and definition.
Saturation: Use less saturated colors for shadows and more saturated colors for highlights to create a sense of volume.
Temperature: Combine warm and cool colors to add interest and realism to your blends.
When in doubt, refer to real-life references or color palettes used by experienced miniature painters to guide your color choices. Don’t be afraid to experiment with different combinations to find what works best for your project.
Common Airbrush Blending Mistakes
When first starting with an airbrush, avoid these typical pitfalls:
Overdoing highlights – Can ruin contrast and shadows. Spraying from too close – Causes splattering. Using too much pressure – Reduces control. Incorrect paint thinning – Clogs airbrush.
Inadequate cleaning – Leads to clogs. Rushing the process – Have patience when learning.
Proper cleaning and maintenance prevents many issues. But don’t stress excessively about a perfect pristine airbrush. Focus on keeping it functional between colors.
If you have more questions check out Squidmar Miniatures on Youtube for more information!
Why Airbrushing Is Worth Learning
Airbrushing has a learning curve. But once comfortable avec the basics, it offers fantastic rewards:
- Faster workflows with smooth blends
- Next-level effects like NMM & OSL
- Greater versatility across projects
- New creative possibilities
- More enjoyment in the hobby
While airbrushing can seem intimidating for beginners, don’t get discouraged. With some guidance and regular practice, you’ll be making short work of perfect blends. The extra time invested pays back exponentially in modeling results.
I hope this complete airbrush blending guide for painting miniatures was helpful. Let me know if you have any other questions in the comments! I’m always happy to offer advice to fellow hobbyists.
Related posts:
 How To Prep Miniatures For Airbrushing: Simple Steps to Smooth Uneven Surfaces
 How to Fix Common Airbrushing Mistakes: On-Demand Fixes for Miniatures
 Airbrush Maintenance & Cleaning for Miniatures: Power To Save Your Airbrush (5 Tips)
 How to Airbrush Glaze Miniatures: Conquer 6 Common Mistakes with These Troubleshooting Secrets


