What PSI Should I Airbrush Miniatures At?: The Complete Guide
As a 20-year veteran in miniatures painting and prominent contributor on the Warhammer Universe YouTube channel, I am often asked – what is the ideal air pressure (PSI) to use when airbrushing miniatures and models?
The short answer is: there is no single perfect pressure. The optimum PSI depends on several factors: the type of airbrush, nozzle size, paint viscosity, distance from the surface, and more. However, based on my extensive experience, here is a helpful guide on determining the best PSI for your specific setup and situation when airbrushing miniatures.
Below are the general ranges for Airbrushing Miniatures, but these are not definitive.
Looking to try and paint some rust? Read our full overview on How to Airbrush Weathering Effects
10-40 PSI
Most miniature and modeling work can be achieved within 10-40 PSI. Here are some specific guidelines:
- Priming/Basing: 20-35 PSI
- Layering: 15-25 PSI
- Detail Work: 10-20 PSI
- Special Effects: Varies greatly
Start at the lower end of the range and gradually increase pressure as needed to atomize your custom thinned paint properly.
Raise the pressure for thicker viscosity paints, larger models/surfaces , hard/smooth surfaces and longer spray distance. Lower it for thinning paints, tiny details, fabric, leather, resin and up close work.
Mastering paint viscosity control allows you to use less PSI. Only use enough pressure to get a smooth, even atomization. Going above 40 PSI risks blowing extremely fine details.
Additionally:
- Gravity Feed: 15-40 PSI
- Side Feed: 15-40 PSI
- Siphon Feed: 25-50 PSI

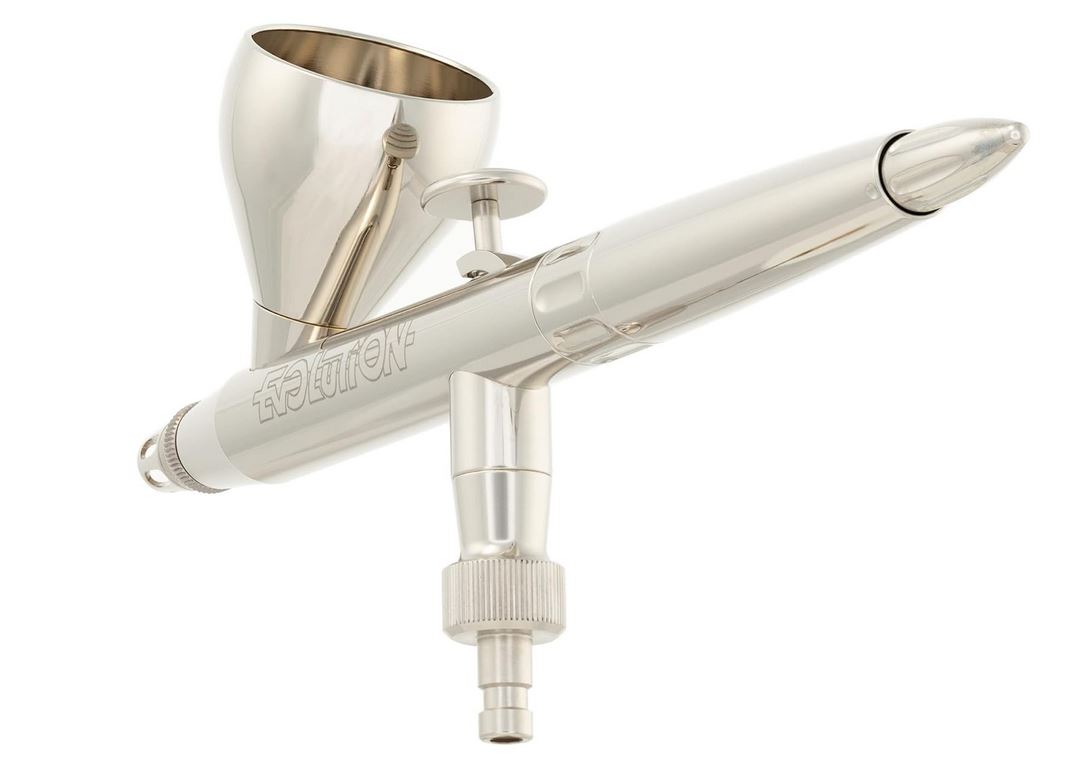
What PSI Should I Airbrush Miniatures At?: Choosing an Airbrush
Read our full guide here on The Best Airbrushes For Miniatures
The most important factor influencing PSI requirements is the type of airbrush you use. Here are key considerations:
Feed System: Gravity feed airbrushes allow better PSI control compared to siphon or side feed types. They utilize gravity to feed paint rather than requiring higher pressure.
Nozzle Size: 0.2mm nozzles need higher pressure than 0.5mm nozzles when using the same paint viscosity. But you can use thinner paints with smaller nozzles to reduce PSI requirements.
Features: Adjustable needle stops help beginners control paint flow. Quick release connectors make it easy to detach air hoses.
For miniatures: I recommend a high-quality dual action gravity feed airbrush with a 0.2-0.5mm nozzle like the Iwata Custom Micron or Badger Patriot 105. These provide good flexibility.
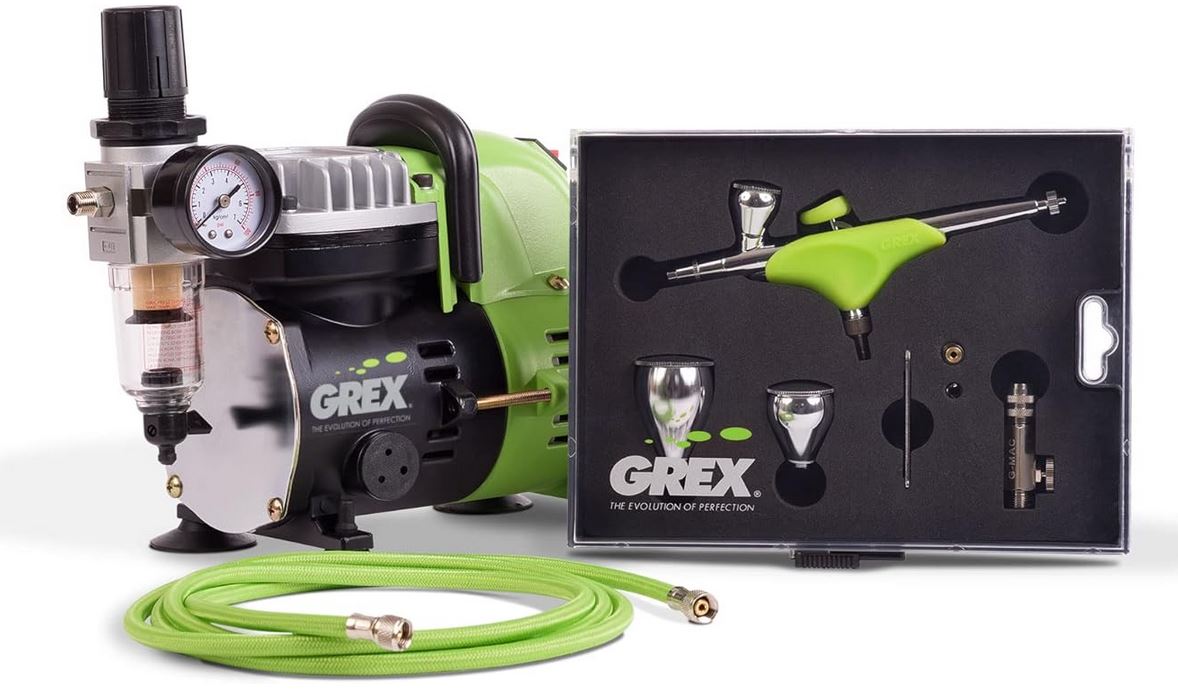
What PSI Should I Airbrush Miniatures At?: Choosing a Compressor
Your compressor needs a tank for quiet operation and consistent pressure delivery. It also needs a regulator, moisture trap, and quick connectors. Aim for 20 PSI to start. Quality doesn’t have to be expensive e.g. the reliable AS186 compressor.
Adjusting for Paint Viscosity
The number one factor influencing PSI needs is paint viscosity. Thicker paints require higher pressure to atomize properly. As a rule of thumb for miniatures painting:
Thicker Paint = Higher PSI Thinner Paint = Lower PSI
I recommend airbrush-ready paints like Vallejo Model Air. But you can thin any acrylic paint with water or medium. Thin to a milk-like consistency. Use paint strainers to catch lumps. Adjust PSI gradually based on atomization.
What PSI Should I Airbrush Miniatures At?: Fine Tuning Pressure for the Situation
As you gain experience, you’ll learn to tweak pressure based on context:
- Distance – Increase PSI when farther from the surface to help propel paint. Decrease when up close to avoid splattering.
- Surface Type – Tightly woven surfaces like fabric require more PSI (30-80) to permeate deeper. Hard, nonporous surfaces need less PSI (15-35) to avoid paint pooling.
- Detail Work – Reduce PSI for fine detail work to maximize control and avoid overspray.
Properly Balancing these factors takes practice but dramatically improves results. Always use the minimum PSI needed for good atomization.
What PSI Should I Airbrush Miniatures At?:Vital Accessories
I highly recommend investing in these accessories early on:
- Respirator – Avoid breathing paint overspray even with good spray booth ventilation.(Not optional, you only have 1 set of lungs)
- Spray Booth – Traps overspray particles. Essential for indoor airbrushing over long periods.
- Cleaning Pot – Lets you safely spray out paint between color changes to keep airbrush clean.
- Quick Release – Makes detaching airbrush quick and easy between sessions.
- Lubricating Oil – Prevents stiff triggers. Use sewing machine oil.
Achieving Special Effects
Once you’ve mastered basic control, airbrushing opens up endless creative possibilities for special effects on miniatures including:
- Smooth blended highlights and shadows
- Realistic color gradients
- Weathering effects like rust, dirt, ash etc.
- Interesting textures like stone or scales
- Environment effects like snow, water, fire etc.
- Light sourcing using zenithal highlighting
Experiment with layers, masks, friskets, specific nozzle sizes, and paint viscosities to achieve stunning results.
What PSI Should I Airbrush Miniatures At?: Following Good Maintenance Practices
Read our full guide on Airbrush Maintenance
Cleaning your airbrush properly between sessions prevents many issues:
- Use compatible cleaners like isopropyl alcohol or airbrush thinner
- Flush paint cup after each color change
- Disassemble and individually clean parts at end of session
- Rinse twice with cleaner to prevent residual paint mixing
- Swab all paint residues out of nozzle and tip
- Lubricate movable parts lightly with oil
- Perform occasional deep cleanings for stubborn clogs
What PSI Should I Airbrush Miniatures At?: Troubleshooting Common Issues
It’s common to run into problems like clogging, sputtering, bubbling, or skipping while airbrushing. Here are some quick troubleshooting tips:
- Clogs – Increase PSI, clean needle, strain paint, check nozzle for damage
- Sputtering – Clean needle, increase PSI, strain paint
- Bubbles – Tighten nozzle cap, check nozzle insertion
- Skipping – Clean needle, thin paint more
By investing in quality equipment, understanding how adjusting pressure impacts atomization, balancing viscosity, distance and surface factors, utilizing helpful accessories, and practicing consistent maintenance habits – you will quickly master ultra-fine control with your airbrush on miniatures to create stunning works of art worthy of display.
Don’t forget to prep your models first! Not sure how? Read here for: How to Prep Models for Airbrushing Miniatures
Conclusion
Finding the ideal PSI for flawlessly airbrushing miniatures requires balancing several interrelated factors, but the payoff in terms of stunning results makes mastering this skill exceptionally rewarding. Start by investing in quality equipment including a suitable dual-action gravity feed airbrush and reliable compressor. Dial in paint viscosity by thinning properly. Then utilize the 10-40 PSI range as a guideline while fine tuning pressure for your specific situation and desired effects.
Employ masks and friskets strategically for added control. As you build experience through practice, airbrushing’s versatile precision will elevate your miniatures painting to new heights and unlock incredible creative potential for bringing these small works of art to life.
The key points covered are:
- Quality equipment is important
- Thin paints appropriately
- Use the 10-40 PSI range as a starting point
- Adjust pressure based on context
- Employ accessories as needed
- Practice builds skill over time
- Airbrushing takes miniatures painting to the next level
Related posts:
 Airbrush Vs Brush Painting Miniatures: Inspiring You to Become a Painting Maestro
 Best Airbrushes for Painting Miniatures – 4 Amazing Airbrushes!
 How to Mix Colors for Airbrushing Miniatures: 12 Master Tricks And Tips
 Beginner Equipment Set for Airbrushing: The 12 Essential Tools to Beautify Your Miniatures


