How to Mix Colors for Airbrushing Miniatures: Tricks And Tips
As an avid miniatures hobbyist and competitive painter with over 20 years of experience airbrushing miniatures, I’ve experimented extensively to determine the optimal techniques for mixing and preparing paints to achieve flawless, vibrant colors with an airbrush. Properly thinning your paints and understanding how to blend them is absolutely vital for airbrushing miniatures.
In this complete guide from us here, I’ll walk you through everything you need to know about mixing paint colors specifically for airbrushing miniatures and models, from the best paints and thinners to use, ratios and viscosities to aim for, to special blending effects like fades and zenithal highlighting.
Now let’s dive in!
How to Mix Colors for Airbrushing Miniatures: Best Airbrush Paints
Looking for a new Airbrush? Read our full overview for: The Best Airbrushes for Miniatures
When it comes to mixing acrylic paints for airbrushing miniatures, you have several good options:
Airbrush-Ready Paints
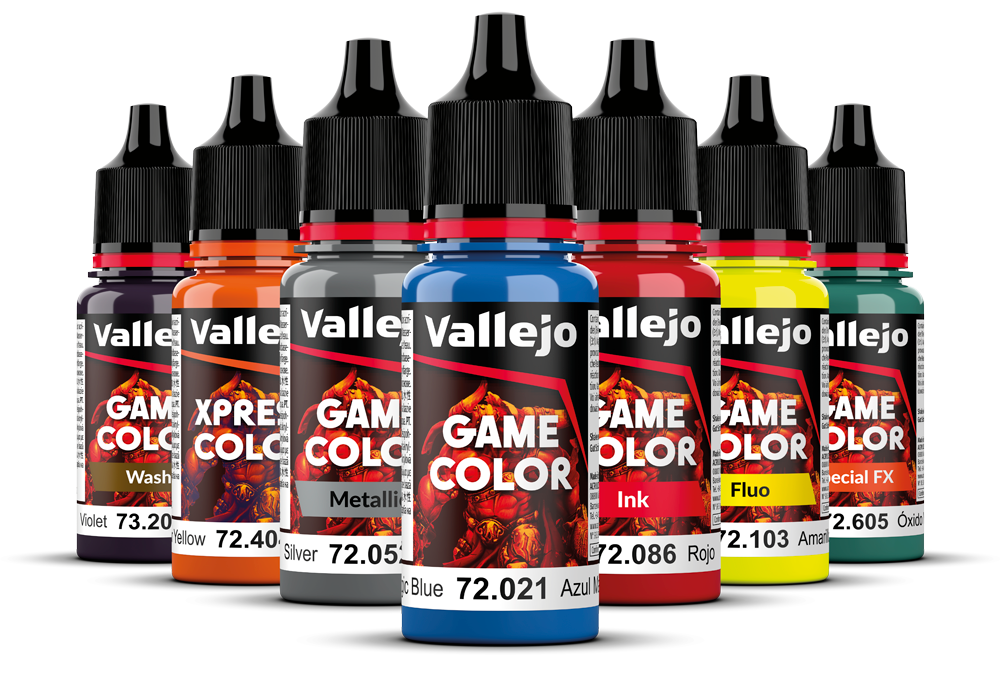
There are specially formulated “airbrush-ready” paints like Vallejo Model Air and Citadel Air that can be poured straight into your airbrush without any thinning required. While expensive compared to regular acrylics, these airbrush paints provide predictable, reliable performance.
Standard Acrylic Paints
Brands like Citadel, Vallejo, Reaper and Army Painter work perfectly fine for airbrushing but need to be thinned properly first with additives (more on that shortly). I prefer more viscous paints like Citadel as thinning them gives me more control compared to already thin formulas.
Acrylic Inks and Artist Colors
Looking for a specific guide to Acrylic Paints? Read here for Painting Miniatures with Acrylic Paints
For special effects like filters, shading and glazing, highly pigmented acrylic artist colors and inks can be thinned significantly to create transparent layers. Just take care not to clog your airbrush!

How to Mix Colors for Airbrushing Miniatures: Thinning and Preparing Paint
Read a full guide on How To Prep Miniatures For Airbrushing
Getting the consistency and viscosity right when mixing paint for airbrushing is crucial. Here are the best additives and methods for thinning acrylic miniature paints effectively:
Water
Good old distilled water is my go-to thinner for most acrylic hobby paints. As long as your tap water isn’t too hard, it will thin acrylics beautifully. Use distilled bottled water if unsure.
Start with a 1:3 paint to water ratio* – this gets Citadel paints to around whole milk viscosity which I find ideal for most airbrushing applications. Adjust as needed.
Airbrush Thinner Mediums
Specialized airbrush thinners like Vallejo Airbrush Thinner also work fantastically to improve paint atomization and flow while reducing tip dry. I recommend Liquitex Airbrush Medium as well.
Similar to water, try around a 1:3 medium-to-paint mix ratio first then tweak. Allows thicker paint layers if needed.
Isopropyl Alcohol
While less common than water or branded thinners, a 25% isopropyl alcohol solution also helps acrylic paints flow smoothly through the airbrush. Especially good if water isn’t thinning effectively.
*Be very careful using alcohol – it can damage acrylics if overmixed! Start with a 5-10% alcohol-to-paint ratio first. *
Flow Improver
Instead of actually thinning the paint itself, flow improver decreases surface tension so paint atomizes better through the airbrush nozzle without diluting color strength. Always good to add a few drops when mixing thicker paints.

How to Mix Colors for Airbrushing Miniatures: Perfect Airbrush Paint Viscosity and Thickness
Visually, your thinned acrylic paint should be around the consistency of skim milk – a nicely thinned layer that almost fully drips off a stirring stick in 10 seconds.
To test thickness, slowly drip thinned paint from higher than the miniature’s height – it should flow smoothly but not run and pool excessively. Adjust thinner ratios accordingly.
For smaller nozzle sizes under 0.5mm, err on the side of overthinning paint to prevent frustrating clogs mid-detailing. You can always do multiple thin coats to build opacity.
Standard Mixing Technique
I recommend mixing your thinned acrylic airbrush paint in either small mixing cups or directly in the airbrush paint cup itself for convenience. Here is the process:
- Add a few drops of acrylic paint into the mixing container
- Add thinning agent (water, medium, etc) at your chosen ratio
- Thoroughly mix together with a mixing stick, toothpick or paperclip till homogeneous
- Using an eyedropper, transfer mixed paint into your airbrush cup
- Test spray onto cardboard to verify smooth atomization before applying to the miniature
Premix enough thinned paint for entire sections to maintain color consistency across the miniature.
How to Mix Colors for Airbrushing Miniatures: Blending and Fade Effects
Beyond just thinning acrylics to properly atomize through an airbrush, you can use specialized mixing, layering and fading techniques to achieve gorgeous blended color gradients on miniatures.
Here are my top strategies for seamlessly blending colors with an airbrush:
Two-Color Fades
- Spray first color as basecoat over entire section
- Reduce pressure to ~10-15 psi
- Position airbrush off model and gently pull trigger to spray second color, slowly sweeping over area
- Move airbrush closer and make faster passes to intensify second color transition
Zenithal Highlighting
- Prime black first as base layer
- Mix white + gray paints
- Position model vertically
- Spray white downward over model to mimic top-down highlighting
Color Filter Effects
- Mix brightly colored inks ~10:1 with airbrush thinner
- Lightly spray the ink filter layers over pre-shaded areas already painted with acrylics
- The transparent inks will subtly tint the basecoat beneath for added contrast
Wet Blending
- With two paint brushes, apply two bordering colors simultaneously onto the model
- Immediately use a clean damp brush to softly “wick” the wet borders together, diffusing for a seamless transition
With some practice experimenting, you can achieve remarkable airbrushed paint blending effects like realistic color gradients. The possibilities are limitless!
How to Mix Colors for Airbrushing Miniatures: 12 Key Tips
To help you get started with mixing paints and understand best practices for airbrushing miniatures, here are my top 12 tips:
1. Always strain mixed paint through a paint filter or mesh funnel before pouring into your airbrush paint cup to catch debris that could clog mechanisms.
2. Between color changes during a session, spray cleaner solution through the brush and wipe nozzle tip gently with a microfiber cloth. Avoid bending delicate needle!
3. When done airbrushing, immediately clean the entire mechanism thoroughly with cleaner fluid according to manufacturer directions to prevent permanent paint stains.
4. Mix small batches of thinned acrylic paint rather than thinning entire bottles to maintain shelf stability of paint. Properly stored thinned mixtures last a week or two.
5. Prior to spraying final mixed paint on an expensive miniature, test its atomization quality on cardboard or paper to adjust flow or thinner ratio if not fully satisfactory.
6. Avoid premixing large quantities needed for just a few quick touch ups. Go through the thinning process individually for those to conserve paint.
7. Metallic acrylics usually require additional thinning compared to flat colors for proper spraying. Add more thinner if experiencing poor metallic particle atomization.
8. Ensure your compressed air source can provide a consistent 30-45+ psi spraying pressure. Insufficient airflow leads to spitters and spidering frustrating mid-work.
9. Even with properly thinned paint, positioning the airbrush too close to a surface still causes bubbly, blotchy application. Optimally spray down at roughly a 45 degree angle from just under an inch away.
10. If certain thinned paint colors seem to continually dry too quickly on your needle tip, try adding a drop of drying retarder rather than more thinner to boost working time.
11. Acrylic polymer medium helps boost paint adhesion and durability once dried, which is useful for paints layered across multiple airbrushing sessions.
12. And above all – avoid overthinning paint unnecessarily! Opaqueness and color vibrance suffer needlessly ifacrylics diluted excessively. Achieve precision through great airflow control instead.
Still looking for more tips? Read our Airbrushing Miniatures Beginners Guide
Wrapping Up
I hope this guide gives you a comprehensive overview on mixing and preparing any acrylic miniature paint for airbrushing flawlessly. Thinning properly truly is the key to avoiding frustrations and beautifully vibrant, precise results airbrushing miniatures.
And as you build expertise experimenting with your airbrush, don’t hesitate to try inventing your own unique flows, textures and blending effects on top of these fundamentals! Artistic individuality is what makes this hobby so awesome.
Now get out there, try these acrylic thinning and mixing techniques, and show off your painted works! I can’t wait to see what you create.
Related posts:
 How to Airbrush Metallics for Miniatures: Legendary Metallic Shines!
 The Ultimate Guide to Airbrushing Miniatures – Perfection Against Xenos
 Airbrushing Miniatures for Beginners: Master the Art of Airbrushing with 5 Game-Changing Techniques
 How to Airbrush Glaze Miniatures: Conquer 6 Common Mistakes with These Troubleshooting Secrets


