How to Make Buildings for Warhammer 40k: Creating Immersive, Detailed Buildings
As a passionate Warhammer 40k player for over 20 years, I live for the thrill of battle. But what truly brings those battles to life is the terrain. After getting tired of boring flat boards, I set out on a mission to make my own affordable, modular terrain that looks spectacular.
Now, I want to pass on everything I’ve learned to help you make eye-catching centerpiece terrain and buildings for your own epic confrontations. There’s something magical about strategizing battles across landscapes you made with your own two hands!
In this expanded guide, I’ll cover how to:
- Construct a full modular terrain board step-by-step
- Build ruined Gothic buildings from foam and everyday materials
- Paint and finish pieces for maximum realism
- Make hills, cliffs, craters and other elements
- Save money compared to buying terrain
Let’s dive in!
Crafting a Modular Terrain Board
A modular board is made of separate interconnecting pieces. This makes it endlessly customizable compared to one fixed board. Sections can be rearranged or transported easier.
My 4ft x 6ft board uses 6 sections of 2ft x 2ft MDF board. But 3 larger sections (2ft x 4ft) would also work well.
Key Planning Tips
When deciding on sections, think about rearrangeability:
- Consider making a central plateau that can moved to the edges later for new layouts
- Number the bottom of sections to keep organized
- Ensure cliffs and hills will properly overlap multiple pieces
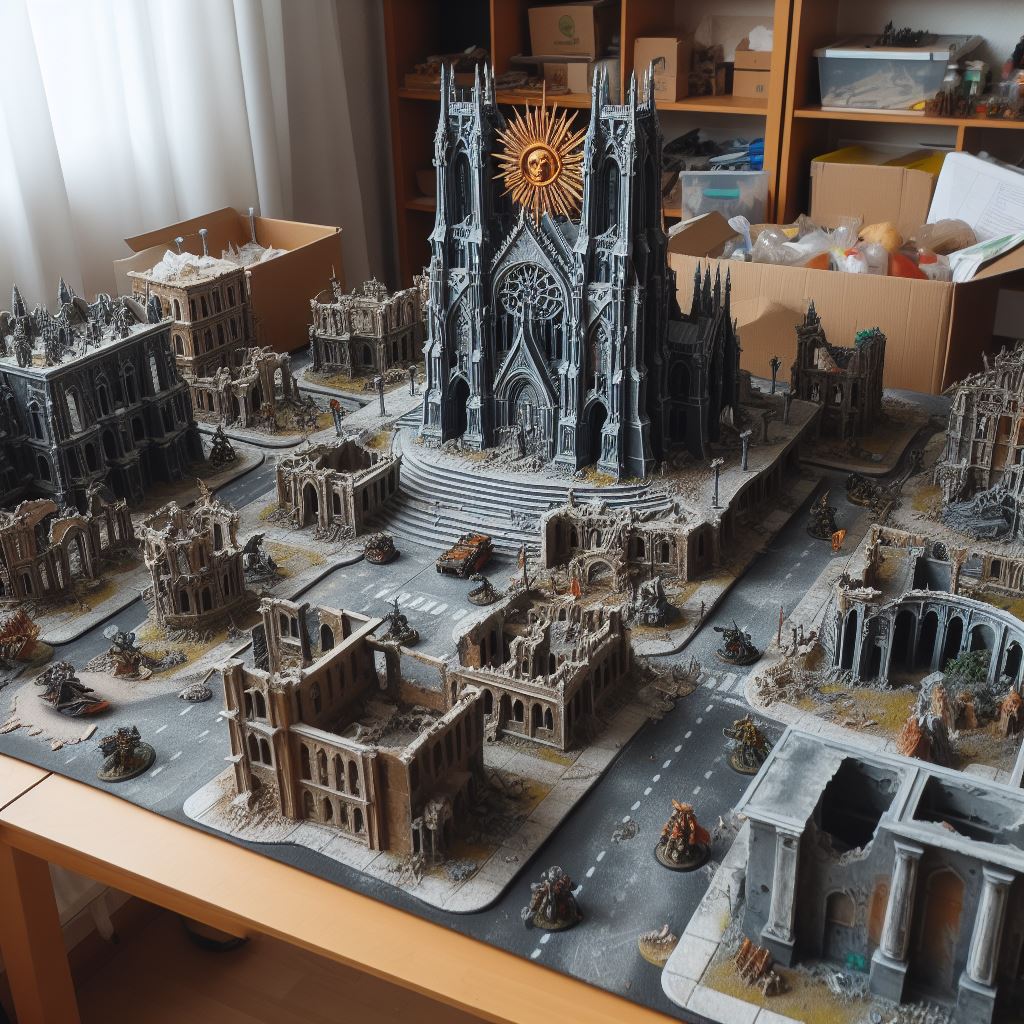
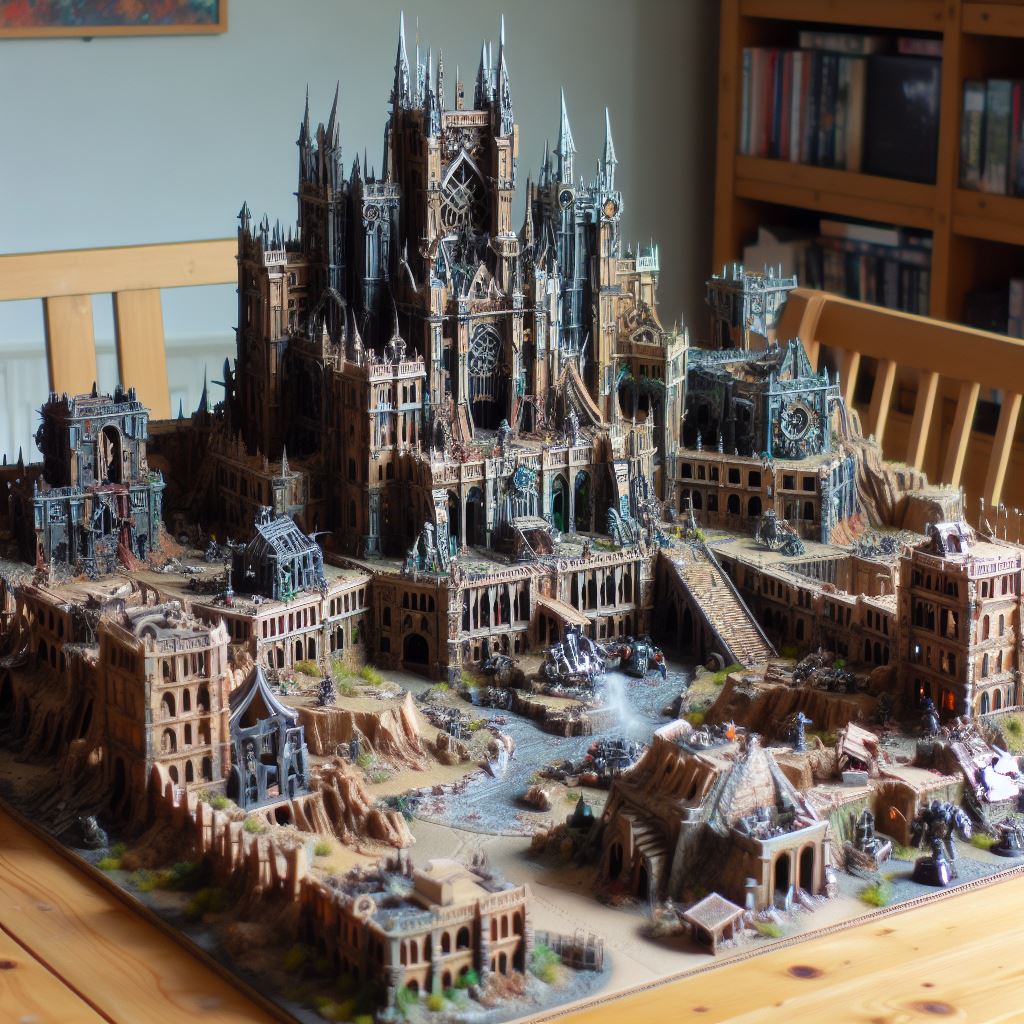
[Image: example modular board configurations]
With smart planning, you can create countless unique battlefield arrangements!
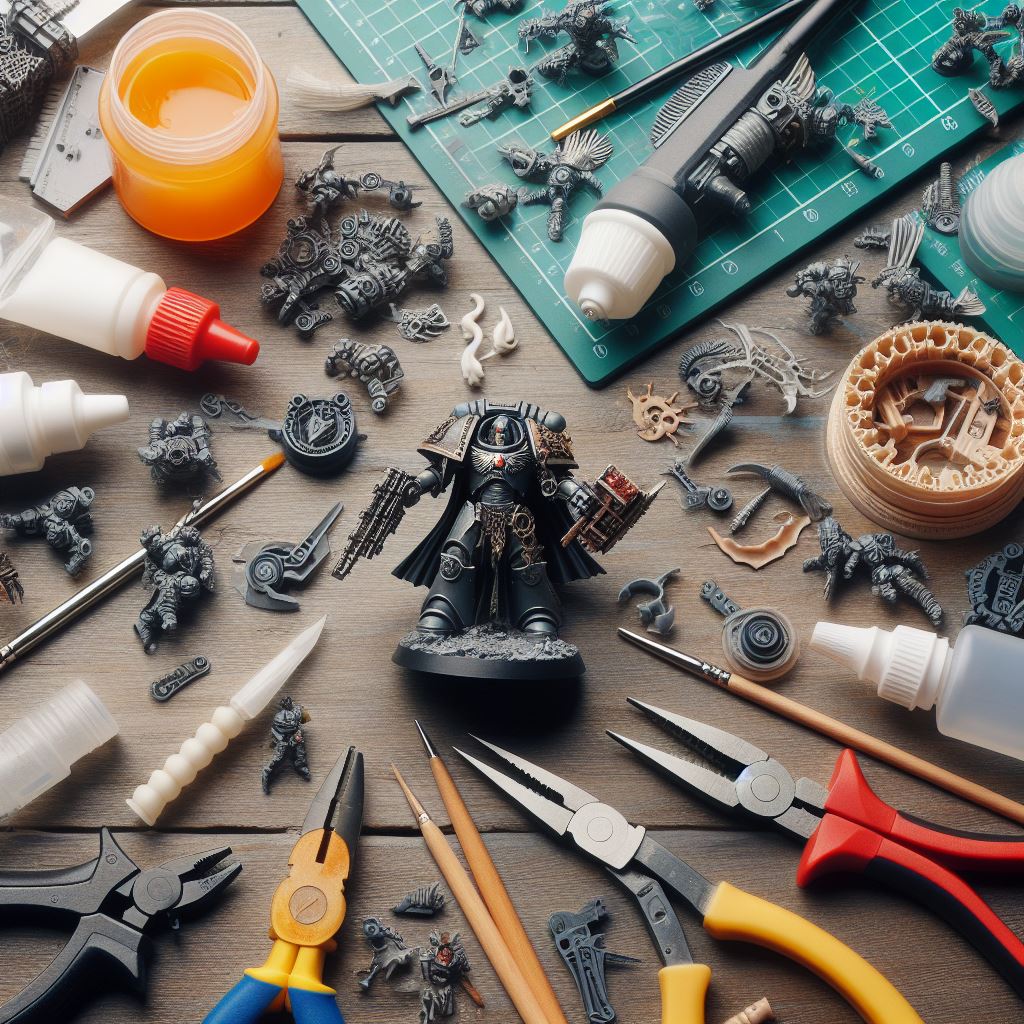
Necessary Materials and Tools
- MDF boards – for base structure
- Plaster, caulk or spackle – for easy texturing
- Foam boards – for elevation and organic shapes
- Latex paint – avoids eating foam like spray paint
- Foam cutter – to carve hills and shapes
- Hot glue gun – for quick drying
- Scatter terrain – rocks, grass tufts, rubble
Bonus materials:
- Static grass and fine turf – for details
- Crackle paint – for textures
- LEDs – for explosion effects
- Arts and crafts supplies – for industrial tanks, pipes, etc

Step-by-Step Instructions
Follow along to build your own immersive Gothic ruins and war-torn battlefield:
Constructing Ruined Buildings
To build the destroyed remnants of an imperial temple, cathedral or fortification:
- Cut wall sections: Use a utility knife to slice 2 inch thick foam core boards into various sized wall pieces. For added realism, cut windows and doors at asymmetrical angles rather than uniform squares. Reinforce the backs with cardboard strips.
- Destroy and damage: Use scissors or serrated blades to raggedly puncture the foam, simulating crumbling holes from artillery strikes. For partial collapses, cut walls into irregular broken chunks.
- Assemble the wreckage: Arrange walls into a dilapidated but recognizable floorplan. Glue together at sharp, unorderly angles with gaps for rubble using hot glue for rapid drying. The chaos of quick assembly heightens the feeling of catastrophe and abandonment.
- Debris and destruction: Gather plastic bits, leftover sprues, insulation foam and debris. Break into chaotic shapes and pile realistically around and inside your ruined walls. Apply glue in small sections to attach rubble firmly to the base and scattered across floors.

Painting Techniques
- Prime the ruins: Spray paint an even layer of black primer across all surfaces to unify color. Allow to fully cure before additional painting.
- Basecoat gray: Apply thinned gray paint, letting it pool darker in cracks and crevices. The gray creates a neutral base while accentuating texture.
- Drybrush highlights: Load a large brush with light gray paint then brush vigorously on cardboard to remove excess. Then lightly graze raised edges and top-most surfaces with quick downwards motions. Repeat with progressive highlights up to off-white on only the most weathered peaks.
- Weathering and battle damage: Use thinned black and brown paints to create sporadic blast marks, dusty accumulations and environments stains. Spatter dots and light vertical streaks simulate weathered dripping. Apply selectively around battle damage.
Constructing Modular Terrain
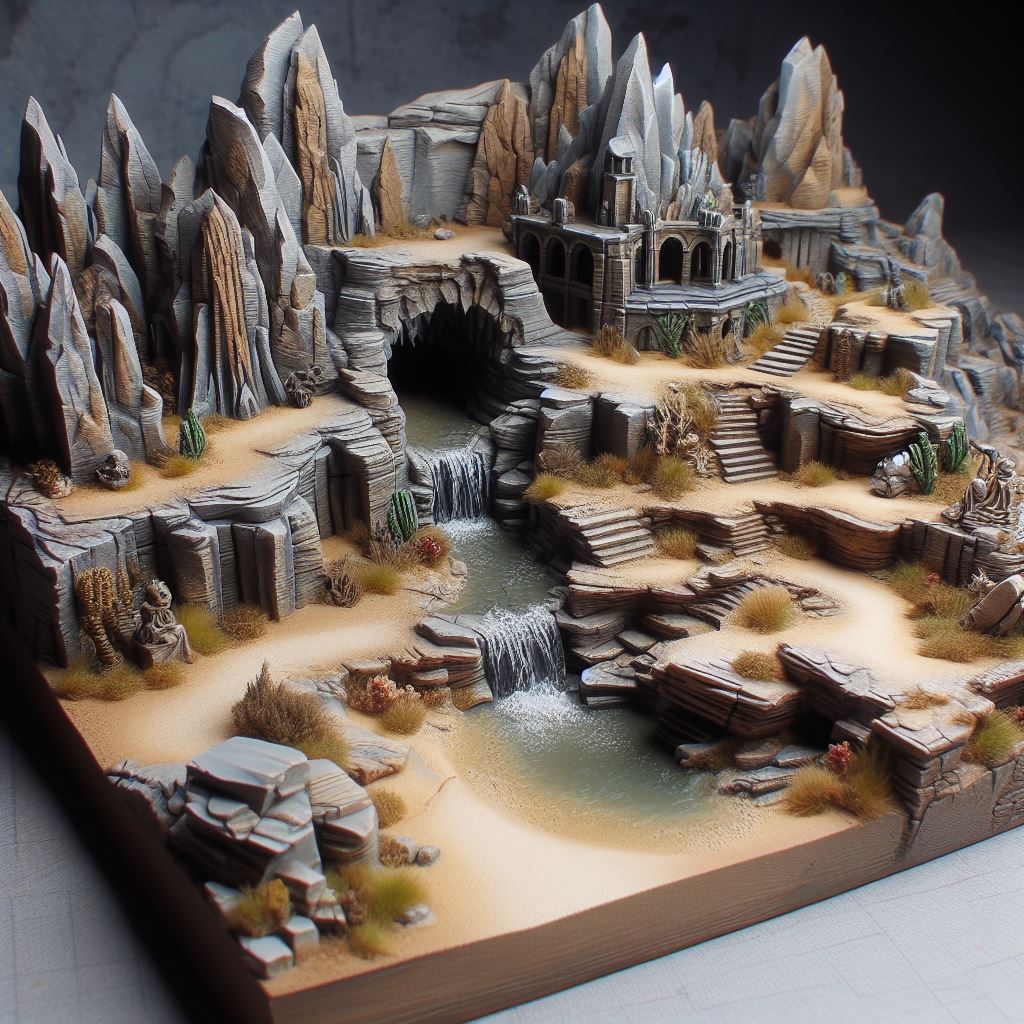
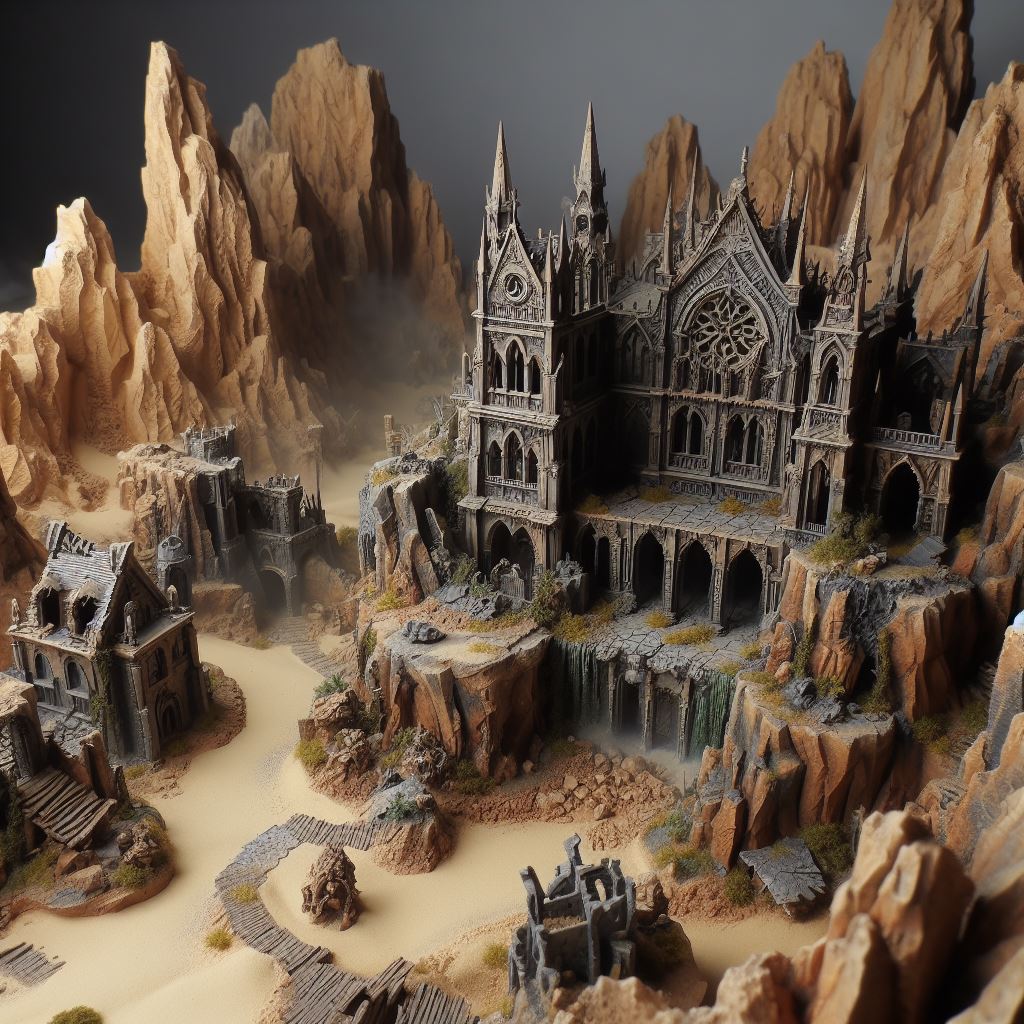
To build realistic hills, cliffs and craters for your customizable battlefield:
- Carve foam: Use a foam cutter or hot wire to slice through 2″ insulation foam boards. Cut long wedge shapes for hills and jagged cracks for canyons. Sculpt slopes, outcroppings, craters and rubble piles.
- Attach elements: Arrange shapes across your terrain and glue down with hot glue for rapid assembly. Overlap cliff faces across modular board sections. Fill gaps with broken foam chunks and small rocks.
- Texture and paint: Mix spackle or plaster to a smooth consistency then trowel a thin textured layer across all surfaces. Use a sculpting tool to define cracks and bulletholes. Paint using drybrushing techniques described above.
Add final details like static grass, scattered bones and shell casings to complete your war-ravaged terrain. Defend the righteous relics and fortify your battlelines across these hand-crafted lands!
Construct Matching Buildings
Complement your modular board with some ruined Gothic buildings:
- Cut foamcore into walls with peaked windows. Roughen foam edges for battle damage.
- Reinforce with cardboard strips. Glue walls together with hot glue.
- Add plastic bits, sprue sticks or insulation foam for rubble.
- Paint buildings using same dry brushing techniques as the terrain. Show weathering!
With some rubble, battle damage and destroyed weaponry, your buildings will look like they witnessed brutal massacres.
Final Touches
- Attach industrial pipes from craft store to create chemical tanks
- Use hot glue “strings” to simulate leaking toxic goo
- Add LEDs beneath see through resin for glowing craters
- Glue on armor plates made from cereal box cardboard
Finally, don’t forget the iconic Gothic skulls! Place weathered skulls on pikes rising from rubble to tie it all together.
The possibilities are endless when making your own terrain. Let your imagination run wild! Match buildings and terrain together to create the perfect showcase pieces for your armies.
For even more tips, tutorials and hobby inspiration, be sure to join me over at warhammeruniverse.com or our YouTube channel!
Related Articles
- Definitive battle guide covering optimal tactics for selecting the best 3D printer for Warhammer miniatures to gain advantage on the battlefield. Read our battle manual covering top-tier tactics, ensuring your 3D printing choices elevate your miniature crafting to new heights!
- All-encompassing battle guide covering critical tactics for selecting brushes to paint Warhammer miniatures to gain advantage on the battlefield. Read our battle manual covering superior tactics, guaranteeing precision and excellence in every stroke of your brushes!
- Definitive battle guide covering optimal tactics for finding the best starter army to gain advantage on the battlefield. Read our battle manual covering top-tier tactics, ensuring your initial force is formidable and sets the stage for victory in Warhammer 40k!
- Ultimate battle guide covering winning tactics for painting your first Warhammer army to gain advantage on the battlefield. Read our battle manual covering premiere tactics, guiding you through successful painting endeavors for your Warhammer army!
- Quintessential battle guide covering necessary tactics for listening to audiobooks while building & painting to gain advantage on the battlefield. Read our battle manual covering foremost tactics, enhancing your hobby experience with entertaining stories from the Warhammer 40k universe!
- Definitive battle guide covering optimal tactics for playing Warhammer 40k tabletop as a beginner to gain advantage on the battlefield. Read our battle manual covering top-tier tactics, providing essential tips for a smooth entry into the intense tabletop battles of Warhammer 40k!
- Comprehensive battle guide covering key tactics for getting into the Warhammer 40k universe to gain advantage on the battlefield. Read our battle manual covering principal tactics, ensuring you navigate the grimdark universe with confidence and strategic prowess!
- Ultimate battle guide covering winning tactics for understanding the Adeptus Mechanicus to gain advantage on the battlefield. Read our battle manual covering premiere tactics, delving into the intricacies of this faction for battlefield success!
- Quintessential battle guide covering necessary tactics for learning what are Necrons to gain advantage on the battlefield. Read our battle manual covering foremost tactics, providing insights into one of the mysterious factions in the Warhammer 40k universe!
Related posts:
 Rules for Painting Your Warhammer 40k Army: Ignite Your Passion and Forge Legendary Armies
 The Best Way to Unglue and Strip Paint from Warhammer Miniatures
 How Hard is Warhammer 40k to Learn? A Journey into the Grimdark Universe
 How to Paint Faces on Warhammer Miniatures: A Comprehensive Step-by-Step Guide for Beginners


