Dark Angels Paint Starter Set: A Comprehensive Guide to Painting Your Miniatures
Are you a passionate hobbyist looking to dive into the world of painting Dark Angels miniatures? , I’ll walk you through the essential paints you’ll need to get started and provide some helpful tips to achieve stunning results.
Looking to get an entire set of paints? See here for The Best Starter Paint Sets for Warhammer
The Dark Angels Paint Starter Set
To begin your Dark Angels painting journey, you’ll want to grab the following paints:
Main Armor:
- Basecoat: Caliban Green
- Wash: Nuln Oil
- Edge Highlight: Warpstone Glow
- Thinner Edge Highlight: Moot Green
Additional Colors:
- Chest Aquila: Zamesi Desert, Skeleton Horde, Screaming Skull
- Leather Belt and Holster: Doombull Brown, Wyldwood, Skrag Brown
- Ribbed Rubber Areas, Weapon Grips, and Weapon Muzzle: Mechanicus Standard Grey, Contrast Black Templar
Having these paints on hand will give you a solid foundation to work with as you start painting your Dark Angels miniatures.
Have your paints ready? Checkout the Dark Angels Starter Set for Warhammer 40k
Painting the Main Armor
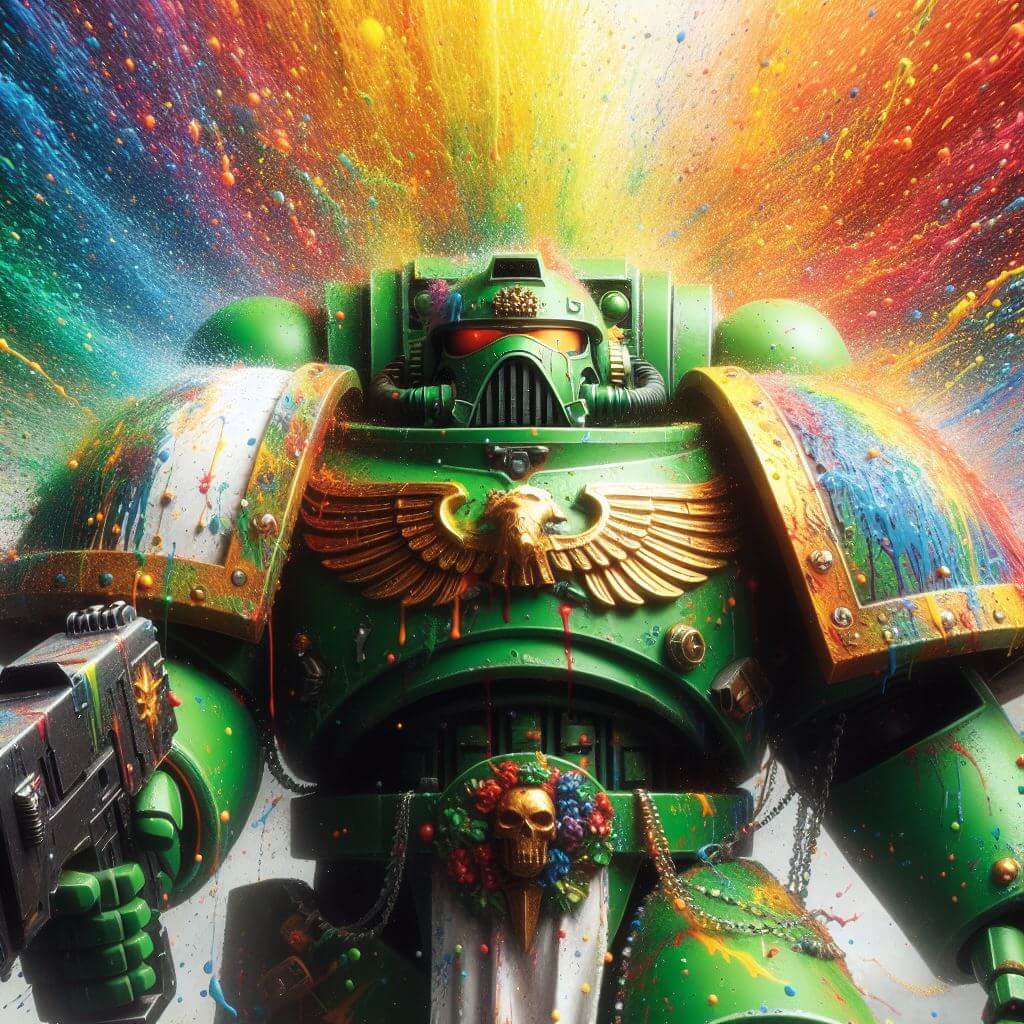
The iconic dark green armor of the Dark Angels is the defining feature of this chapter. Here’s a step-by-step process to achieving that classic look:
- Undercoat the model black using a spray or airbrush for even coverage.
- Basecoat the entire model with thinned Caliban Green, applying 2-3 coats for optimal coverage.
- Create a thin mix of equal parts Warpstone Glow and water, then glaze large areas of the model to create area highlights. Apply in smooth, single brush strokes for a translucent effect.
- Using slightly thinned Warpstone Glow, apply chunky highlights to accentuate the armor’s edges.
- With a fine brush, carefully edge highlight using thinned Moot Green. Take your time and brace your wrists for precision.
- To define the armor panels, use thinned Contrast Dark Angels Green to line the recesses.
By following these steps, you’ll achieve a rich, dynamic green armor that captures the essence of the Dark Angels.
In the market for a new brush? Find out the Best Brushes for Warhammer 40k
Painting the Chest Aquila
The chest aquila is a defining feature of Space Marine armor. Here’s how to make it stand out:
- Apply two thinned coats of Zamesi Desert to the aquila.
- Wash the aquila with Skeleton Horde to add depth and shading.
- Using a small detail brush, carefully paint each feather with Screaming Skull for a crisp, highlighted look.
Painting Leather Belts and Holsters
To add some visual interest to your Dark Angels, don’t forget the leather accessories:
- Basecoat the leather areas with Doombull Brown.
- Apply a heavy wash of Wyldwood to create natural-looking shadows and texture.
- Mix a small amount of water with Skrag Brown and apply thin highlights to the edges for added definition.
Painting Ribbed Rubber Areas, Weapon Grips, and Muzzles
For a realistic look on rubber and weapon components, try this:
- Basecoat the ribbed rubber areas, weapon grips, and muzzles with Mechanicus Standard Grey.
- Wash these areas with Contrast Black Templar for instant shading and depth.
- Edge highlight with Celestra Grey for a subtle pop.
Want to learn more about the Dark Angels? <— Click here!
Painting Weapon Casings and Details
To make your Dark Angels’ weapons look battle-ready, follow these steps:
- Basecoat the metal parts, pipes, and decorative elements with Leadbelcher. A touch of Lahmian Medium will help ensure a smooth finish.
- Apply two coats of Khorne Red to the gun casing for a deep, rich color.
- Wash all the metallic areas and the gun casing with Nuln Oil to create shadows and depth.
- Edge highlight the metal parts with Runefang Steel for a sharp, realistic look.
- Mix equal parts Khorne Red and water, then glaze around the edges of the gun casing for a subtle gradient effect.
- Apply a thick edge highlight of Wazdakka Red to the casing, followed by a thin edge highlight of Wild Rider Red for a vibrant, multi-tonal finish.
- Paint shell casings and decorative ornaments with Retributor Armour for a gleaming gold accent. Optionally, shade with Reikland Fleshshade for added depth.
Due to the size of Weapons and the finer details, it’s recommended to learn How to thin your paints for Miniatures to avoid issues
Painting Purity Seals
Purity seals are an iconic part of Space Marine heraldry. Here’s how to make yours look amazing:
- Basecoat the wax seal with two coats of Screamer Pink.
- Wash the seal with Druchii Violet for rich shading.
- Highlight the raised areas of the seal with Pink Horror, allowing the previous layers to show through for natural depth.
- Basecoat the parchment with Baneblade Brown, applying two coats for solid coverage.
- Paint chunky highlights of Rakarth Flesh on the parchment to create texture and volume.
- Edge highlight the parchment with Pallid Wych Flesh for a crisp, clean look.
- Using a fine detail brush, add lines of Contrast Wyldwood to represent text on the parchment.

Painting Eye Lenses and Screens
No Dark Angels miniature is complete without glowing eye lenses and screens. Try this recipe:
- Paint two-thirds of the eye lens with Teclis Blue, leaving the top corner black for a reflective look. Use the same color on screens and LEDs on the wrist armor.
- Paint a line of Temple Guard Blue along the bottom edge of the eye lens and on the screens and LEDs for a pop of brightness.
- Add a dot of Pallid Wych Flesh to the top corner of the lens to create a striking reflection. Also dot the center of LEDs and paint the edges of wrist screens with this color.
Basing Your Dark Angels
To create a simple yet effective base for your miniatures, try this:
- Basecoat the rocks with Eshin Grey and the sand with Zandri Dust.
- Drybrush the rocks with Dawnstone, then lightly drybrush with Celestra Grey for a natural highlight.
- Drybrush the sand with Screaming Skull for a dusty, weathered look.
Remember, basing is a great opportunity to tie your army together visually and tell a story about their environment.
Wrapping Up
Painting Dark Angels can be an incredibly rewarding experience for any Warhammer 40k fan! by somewhat following this step-by-step guide and using the paints recommended in the Dark Angels Paint Starter Set, you’ll be well on your way to creating an army that looks truly battle-ready. – But if you are looking for a more in depth guide we recommend heading over to Goonhammer!
Interested in learning more about The Best Paint Brands for Warhammer 40k ?
So grab your brushes, unleash your creativity, and may the Emperor guide your hand as you bring the iconic warriors of the Dark Angels to life on the tabletop!


