How to Create Custom Miniatures with 3D Sculpting and Printing: A Guide for Beginners
As a hobbyist with over 20 years of passion and experience in miniatures, I often found myself wishing for very specific characters or models that were simply unavailable commercially. Rather than settle, I decided to take matters into my own hands – and it led me into the world of 3D sculpting and printing to create fully custom miniatures.
In this comprehensive guide, I’ll share everything I’ve learned through extensive research and trial-and-error about designing and producing custom miniatures start to finish. My goal is to provide beginners with the knowledge to bring their own ideas to life.
So whether you’re a tabletop gamer seeking a unique game piece, a model enthusiast looking to craft specialized figures, or someone who simply wants to explore their artistic side, read on! I’ll cover:
Choosing Sculpting Software
The first step is selecting an intuitive 3D sculpting program that matches your skill level and needs. Three great options:
Blender
Blender is a versatile, open-source 3D software excellent for both beginners and professionals. With its user-friendly interface and abundance of free tutorials, it allows newcomers to easily get started.
Nomad Sculpt
Specialized for tactile sculpting on touch devices, Nomad Sculpt makes creating miniatures feel like molding clay with your own hands. It retains advanced tools despite the mobile-centric design.
ZBrush
Boasting powerful high-detail sculpting capabilities, ZBrush is an industry-standard choice. However, the learning curve may be steeper for absolute beginners.
Starting Simple
I recommend first becoming familiar with sculpting basics:
Fundamental Shapes
Practice moving, scaling, and adjusting simple geometric forms like cubes and spheres. This foundational experience is invaluable.
Experimenting with Tools
Test out the unique sculpting toolsets on basic shapes to understand their specific effects. This builds early knowledge.
Incremental Complexity
Gradually challenge yourself by adding details to shapes, merging forms, or sculpting from reference images. Take a methodical approach.
Easing in allows you to grasp concepts before tackling intricate miniatures. Be patient with yourself as you progress up the learning curve.

Preparing Models for 3D Printing
Before printing a sculpted 3D model, optimization and scaling are crucial preparatory steps:
Wall Thickness
Check wall thickness so finished prints are properly sturdy without sacrificing detail. Most software includes measuring tools.
Support Structures
Overhangs may droop or fail, so add customizable supports – either manually or automatically with slicer programs.
Scale
Precisely scale models to your desired miniature size relative to their intended purpose, whether for gaming or display.
Accounting for these factors helps ensure your ambitious 3D sculpture transforms smoothly into a strong, intricately detailed physical print.
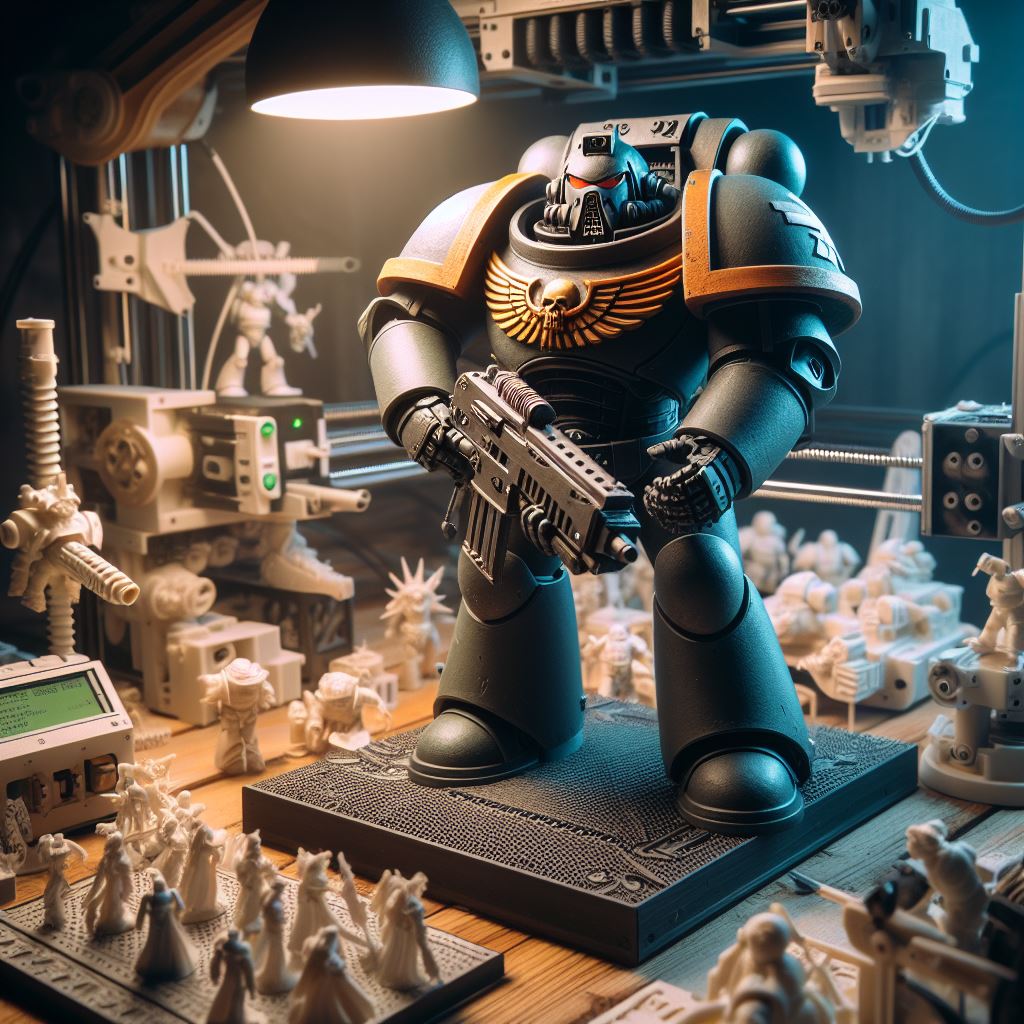
Understanding 3D Printing Process
As you enter the printing phase, key considerations include:
Material Selection
Study characteristics of materials like PLA, ABS, and resin to choose the right fit for your needs in durability, detail, etc.
Quality Printer Settings
For ultra fine miniatures, dial in high resolution, slower print speeds, optimized layer height, and sufficient support structures.
Post-Processing Techniques
Smooth surfaces with sanding, ensure clean resin prints, glue together any sections, and expertly prime and paint your creation.
Realizing the full potential of a design requires diligence through every printing stage – understanding materials, calibrating slicer settings, and refining the raw print.
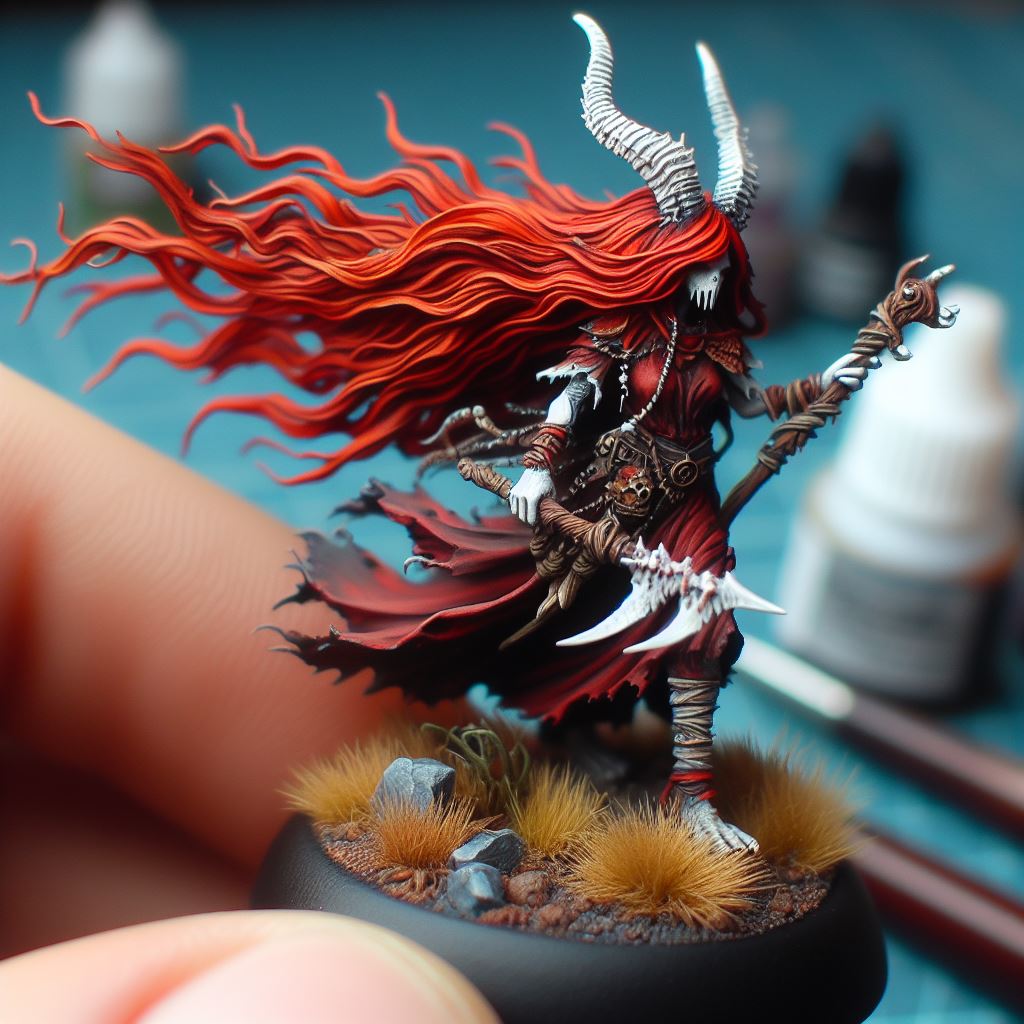
Painting and Weathering
Tabletop connoisseurs know a good paint job can make or break your custom sculpted game piece or ornamental statue. Follow these best practices:
Priming
Start by applying a primer coat to help paint adhere properly. Consider versatility of color shades like white, gray, and black.
Color and Shading
Building up progressive acrylic paint layers allows for nuanced depth in the piece. Meticulous brushwork brings life.
Sealing
Protect completed paint jobs from wear, tear, and chipping with a clear varnish – either brush-on or matte/gloss spray sealant.
The final touches of color, shading, and sealing might be the most rewarding, as your creation truly comes into its own.
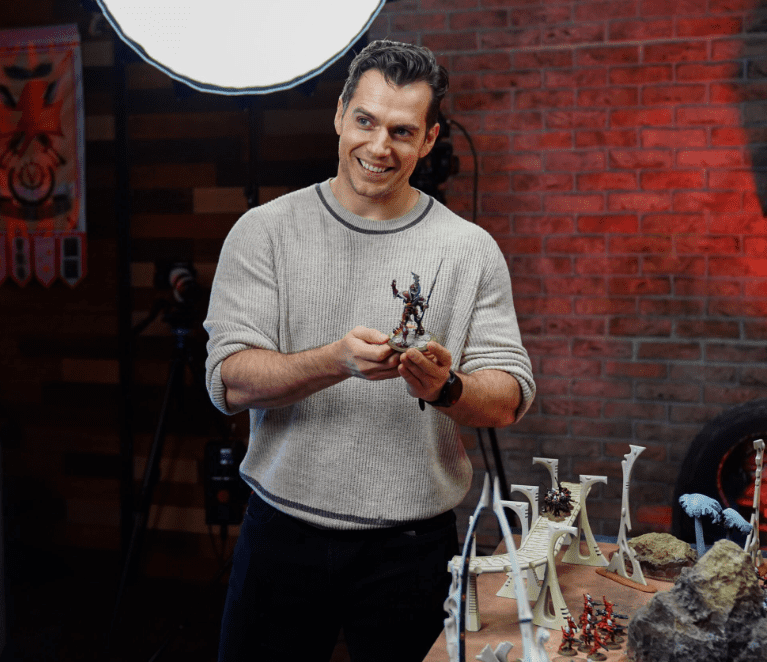
Engage with the Modeling Community
Finally, don’t go it alone! Avid hobbyist communities abound online:
Learn Techniques
Modelers eagerly share 3D sculpting and printing knowledge on forums, in Facebook groups, across YouTube videos, and more. Absorb everything you can!
Get Feedback
Experienced model makers can provide invaluable constructive criticism to help take your designs to the next level.
Share Your Work
Conversely, proudly show off your own makes – it may even inspire someone else just getting started!
Surrounding yourself with fellow 3D sculpting and printing aficionados fosters inspiration and skill-building. Immerse yourself!
Conclusion
So in summary, with the right software, methodical effort, high quality equipment, and helpful communities, anyone can unlock their creativity through custom miniature model making. The specialized knowledge needed for beginners makes it approachable even for complete newcomers.
I urge you to try it out! Start sculpting simple base shapes, move onto detailed multipart figures, meticulously print and paint them, and ultimately display your original designs with pride. It’s incredibly fulfilling to produce miniatures unavailable anywhere else.
I hope this guide illuminates the end-to-end process. Please check out warhammeruniverse.com for more hobby advice or connect on our YouTube channel. Happy creating!
Related Articles
Get essential tips for choosing the best 3D printers to craft intricate miniatures with precision on any budget.
Master painting techniques to make your 3D printed models come alive with vibrant, realistic colors.
Learn strategies to design, print, paint, and preserve a custom Warhammer army that will withstand the test of battles.
Understand why nozzle size selection is crucial for balancing speed, quality and cost when 3D printing miniatures.
Get started printing your own tabletop miniatures with a beginner’s guide 3d printing miniature covering essential equipment, software, and techniques.
Refine your 3D printing process for Warhammer miniatures with practical tips for 3d printing on optimizing supports, leveling, slicer settings, and print orientation.
Discover where to find and print customizable Warhammer miniatures to enhance your tabletop experience.
Get definitive answers on the legality of printing Warhammer proxies, conversions, and custom models for personal use in 2024.
Master efficient techniques to smooth, prime, and paint 3D printed tabletop miniatures for flawless finishes.
Discover budget-friendly methods to kitbash unique Warhammer models by combining scanned parts from different sources.


