3D Printing Warhammer Miniatures: A Guide to Printing, Painting, and Preserving Your Army
Selecting the Right Materials for Warhammer Minis
Your miniature painting and printing endeavors rise and fall based on selecting the right tools and materials upfront. Invest in quality from the start when sourcing your kits and supplies to set yourself up for long-term success.
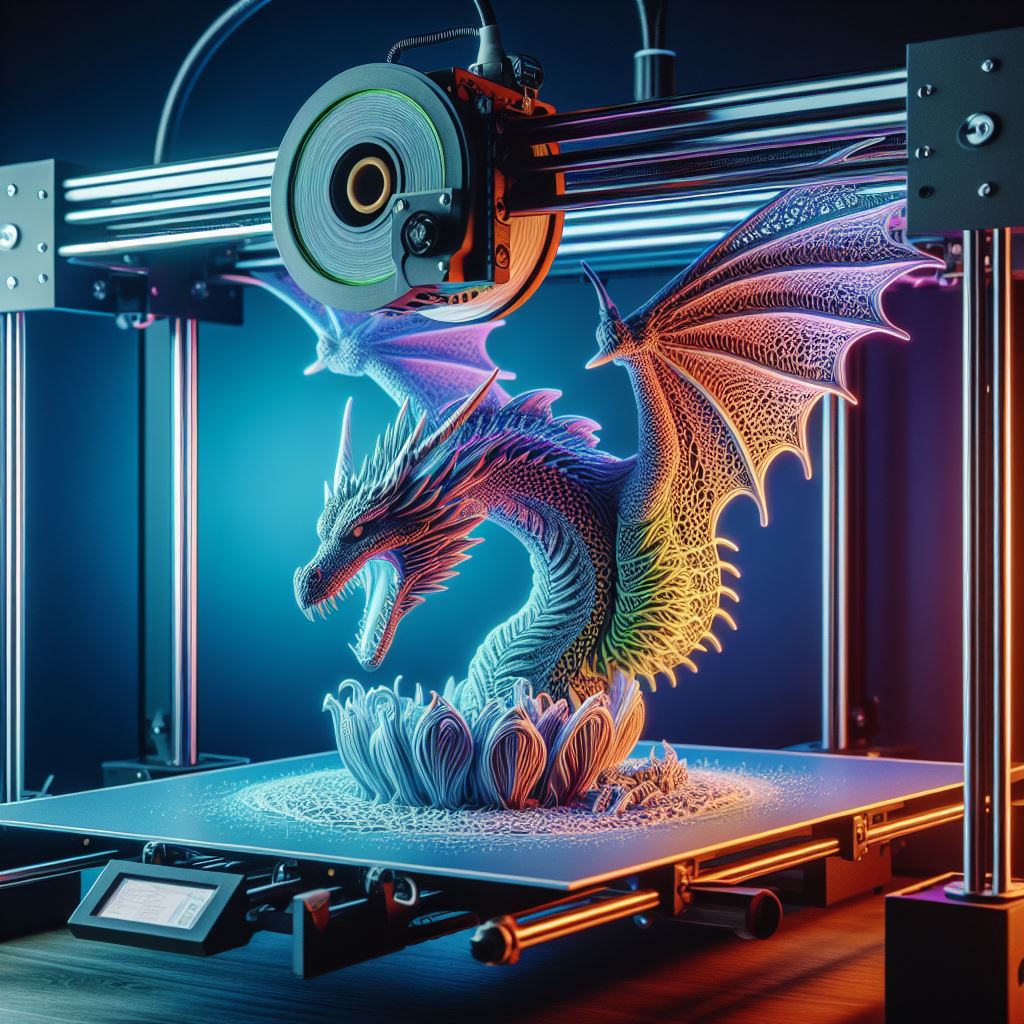
3D Printers for Mini Figures
When looking for a 3D printer to craft bespoke Warhammer armies, always opt for resin-based stereolithography (SLA) printers over fused deposition modeling (FDM) machines. SLA leverages ultraviolet light to cure photosensitive resin layer by layer, producing far higher resolution prints capable of capturing the microscopic details crucial to miniatures. FDM printers with heated nozzles that extrude melted filament simply cannot match the precision of resin photopolymerization processes.
Within SLA offerings, direct laser exposure models like the Anycubic Photon, Elegoo Mars, and Peopoly Phenom L provide an ideal balance of quality, detailing, and affordability. Avoid cheaper UV LCD screen models like the Phrozen Sonic Mini which have lower peaks for curing intensity and Z-axis resolutions under 100 microns. Though temptingly more affordable, you sacrifice fine detailing precision which proves incredibly limiting at the smaller scale.
When evaluating technical specifications across printer models, always look for:
- 25 Micron Layers or Less: Layer heights determine how thinly each layer of cured resin is built up. For reference, average printer paper is 100 microns thick. So sub-25 micron slices are crucial for capturing intricate details onminis without stairstepping and layer lines degrading surfaces.
- 405nm Wavelength: This precise spectrum optimally polymerizes most commercial resins in SLA printing. Other options like 385nm or 365nm lights struggle to fully penetrate and cure thicker passes of resin which exacerbates suction forces and print failures. Stick with 405nm for reliability.
- Miniature Specific Resins: Specialty photopolymers like Siraya Tech Blu offer higher tensile strengths and more shatter resistance for printing durable yet detailed miniatures and smaller features prone to snapping off under stress.
Paints and Brushes
For painting materials, water-based acrylic paints offer quick drying times, easy blending, effortless cleanup with just water, and low fumes/irritants compared to oil or enamel-based model paints geared more towards professional miniaturists. Leading hobby brands like Army Painter, Vallejo, and Citadel offer comprehensive color ranges with specially formulated consistency and pigments for smoothly coating miniatures.
As for brushes, stick with premium kolinsky sable-hair models which offer unparalleled sharpness retention and detailing capabilities. While significantly pricier than synthetic brushes, these natural hair tools easily justify their cost over years of faithful service keeping perfect, precise points across endless paint sessions. Top mini painter brands include Winsor & Newton Series 7, Raphaël 8404, and Rosemary & Co..
Modeling Your Own Miniatures from Scratch
You can rely on commercial miniatures from leading hobby companies like Games Workshop, Wargames Atlantic, Raging Heroes, and Artisan Guild for your armies. But designing fully custom miniatures tailored to your exact specifications and campaigns using 3D modeling software offers an incredibly rewarding experience that breathes additional life into your tabletop sessions.
Through simple 3D modeling tools like Tinkercad, anyone can easily build their own heroes, develop intricate sculpts and busts, or kitbash together Frankenstein miniatures from commercial model parts. More advanced polygon modelers like Blender or ZBrush offer professional-grade control over topology, UV mapping, posing, texturing, and rendering to develop truly production quality assets you simply cannot buy off the shelf.
And thanks to accessible browser-based sculpting tools like SculptGL, even mastering digital clay sculpting becomes approachable to mimic the highly artistic, freeform modeling workflows behind stunning display pieces and collectibles. With practice across this spectrum of digital creation platforms, anyone can nurture their creativity and develop entirely novel figurines catered precisely to your vision and campaigns.
Perfecting Miniature Printing with Tuned Parameters
With so much riding on capturing the tiniest, most fragile details across intricately posed and decorated miniatures, dialing in slicer profiles specific to mini printing proves absolutely crucial for resin printer owners. Out-of-the-box slicing presets target more utilitarian prints optimizing for speed and material usage at the cost of tolerances and finish.
We must flip this script when dealing with miniatures – leverage tuned parameters that maximize fidelity, tolerance, and the reliability of spindly overhanging bits even at the cost of longer print times and resin usage. Let us walk through the key adjustments to lock onto within your slicing profiles:
Slow Down Print Speeds
One of the easiest yet most impactful adjustments involves slowing down light-off times per layer to between 1.5-4 seconds vs sub-second defaults geared towards maximizing build volume throughput. Slower curing accentuates key benefits of SLA printing especially for miniatures:
- Minimizes Suction Forces: Faster movements create pronounced suction forces that can warp thinner sections or pull entire models off supports.
- Reduces Residual Stresses: Slower curing applies less thermal shock minimizing internal stresses which manifest as cracks or warping.
- Controls Overcuring: Quick blasts easily overexpose and overcure resin yielding more brittle with lower tensile properties.
Choose Precise Layer Heights
We touched on using 25 microns or lower layer heights previously – but also consider tuning this parameter based on key dimensional thresholds of your miniatures. For example, optimizing for layer heights around 10% of the thinnest detail size linking back to printer precision capabilities ensures ample sampling and geometry capture of all features.
Optimize Exposure Times
Dialing in the right light-on times per layer requires testing exposure calibration prints like AmeraLabs Town while incrementing times until overexposure signs appear. Start too low and models print weak, too high and fine details get lost. Take notes on the resin sweet spot.
Adjust Supports
Since SLA printing relies on anchored points to start solidifying each new layer, properly supporting miniatures proves essential for tackling overhangs. But default support generation often overdoes anchor points resulting in tedious cleanup.
Either manually place smarter supports focusing only on islands and spans or dial in auto supports with finer contact point diameters, higher tip separation clearance, and limiting base size to let the model self-support more.
Painting Your Miniature Army for Battle
Once your collection of custom miniatures comes off the print bed, the real magic happens – bringing your models to life with lively, realistic paint jobs full of fine gradients, weathering effects, battle damage, freehand detailing and more using acrylic hobby paints.
But painting miniatures both efficiently yet exquisitely challenges even experienced hobbyists. Very fine features easily soak up too much errant paint or get obscured beneath thick coatings and messy applications. We must work cleanly and precisely.
Here are pro tips I’ve learned over countless commissions tackling models at all scales to achieve striking, professional-grade paint jobs protecting even the smallest details.
Mind the Brushwork
Achieving impeccable, detail-preserving brushwork across all those nooks and crannies that define miniatures starts with developing core motor skills every painter must continually refine:
Grip Lightly: Use just enough pressure between fingertips to maneuver the brush – excess gripping telegraphs hand tremors to the brush tip resulting in unsteady, wandering strokes.
Brace Your Hands: Rest wrists or pinky fingers on tabletop to steady movement. Anchor arms to torso if needed.
Only Load Brush Tips: Letting paint flood too far down into the bristle belly reduces point precision. Wipe excess paint on palette until just the tip holds color.
Practice Controlled Strokes: painting little men Focus on straight lines, consistent curves, precise corners, holding rotational angles, and endpoint targeting practice drills to nurture muscle memory and dexterity. Master fundamental brush manipulation before attempting complex freehand work. Surgeons drill similar patterns for a reason.
Rotate the Model: Rather than painfully contorting wrists to access hard-to-reach areas, turn, tilt and rotate models into ergonomic positions so brush strokes follow comfortable painting angles. Clamp miniatures onto rotating grasping tools like helping hands alligator clips for easy repositioning.
Building these core hand/eye coordination skills, strength, and stamina through regular practice naturally improves the clarity, accuracy and precision behind every brushstroke across even the most challenging models to new levels.
Thin Your Paints
Mastering paint dilution and layering techniques proves foundational for refined miniature painting granting far greater control and quality than slapping on thick coats that obscure intricate details and texture. Follow these thinning and transparency tips:
Mix Thoroughly: In separate palettes, add roughly 1:1 mixes of chosen paint colors with either water or acrylic thinning mediums until reaching skim milk-like consistency and transparency. The right ratios take trial and error to identify per color, brand, and desired layer opacity. But transparent glazes should brush on smoothly without clumping or sticking unevenly to reveal underlying base tones and slowly tint surfaces.
Apply Multiple Thin Coats: Resist putting heavy coverage down or caking raised areas in a single pass. Painting little men Instead utilize several sheer coats, allowing previous layers to fully dry first, to incrementally build vibrant colors while preserving the depth of fine textures and filigree most easily lost beneath thicker applications. Thin layers also readily reactivate for easier blending.
Focus Brushwork: Concentrate diluted colors only onto targeted areas without straying or feathering across adjacent components that have yet to receive base layers or primal washes. Controlled tip loading and stroke work helps partition sections.
Varying mixtures across proprietary acrylic thinner mediums like Vallejo, Liquitex, and Citadel Contrast Medium also offer distinct benefits from enhancing flow and self-leveling to extending working time. Experiment to discover your preferences suited to particular paint properties, desired effects, and working pace at hand.
Work in Subassemblies
Trading off full assembly realism when airbrushing or hand painting miniatures in exchange for accessing all sides and angles ultimately allows far greater room for refinement – especially as intricate models barely exceed fingertips.
Construct models in modular subcomponents based on what orientations yield difficult to reach spots when fully assembled. Common breakdowns include:
- Torso/Head: Facilitates detail work across chest, back, and hard-to-access underarm areas.
- Arms/Weapons: Permits easier brush access from all angles to apply controlled coats when separated.
- Backpacks/Gear: Detaching heavy obstructing equipment allows smoothly painting the actual back torso.
- Legs: Pulling these off at the hips makes painting inner legs, inner robes, etc. straightforward.
- Base: Keep figures off bases until completing all paintwork for total access.
Pinning assemblies together post-paint using brass rods enables durable connections while preserving posing adjustability to hide seams or re-base models for better interlocking battlefield scenery. The time savings working on better-exposed components pays exponential dividends in miniature quality results.

Weather and Final Touches
Transforming pristine models into grim battle-tested veterans demands learning essential weathering techniques that bring realism to the next level through hard-fought experience scars:
Dirty Up: Use spray-on varnish as an adhesive base layer. Then stipple on earthy pigment powders or grated pastels with stiff brushes focused on feet, coattails, and lower extremities. Seal pigments with fixative spray.
Add Rain Marks: Load a worn larger brush with clean water. Flick droplets onto surfaces allowing streaky drips before drying.
Simulate Battle Damage: Use sponge pieces to dab flecks of black/brown paints onto corners, edges and protrusions to simulate chipped paint and armor. Popular techniques include hairspray chipping and salt weathering (youtube tutorials).
Try Oil/Enamel Wash: These take longer to set than acrylic but offer smoother blending, longer workability for “panel lining”, and remove cleanly from raised details with mineral spirits for accentuating depth.
Finally apply finishing touches like static grass and terrain flocking to bases using adhesive and colored model Turfs, seal completed models with protective satin varnish sprays, and touch up metals/gems with selective brush-on gloss coats to make those accents shine. Then show off your battle-tested squad!
And that covers my top lessons for layering studio-quality painted finishes across batches of miniatures while retaining every fine sculpted flourish! Let me know if you have any other questions.
Related Articles
Discover the leading 3D printers for crafting miniatures in our 2023 guide covering over 12 different printer models for various budgets and use cases to help hobbyists compare top options this year.
Learn step-by-step guide for prime and painting 3d miniatures for getting flawless, smooth primer application when preparing 3D printed miniatures for painting in this simple tutorial using 5 different priming methods suitable for newcomers.
Get the full overview on 3D printing, customizing and painting a Warhammer army from start to finish in this extensive guide covering software, best practices, troubleshooting advice, and more helpful details.
Learn why nozzle size impacts print resolution and discover how to select the optimal nozzle for your projects depending on the miniatures and layer heights you need when 3D printing Warhammer models or dioramas.
Get started Printing your own 3d miniatures using 3D modeling software and affordable desktop printers with this easy beginner’s guide covering 6 key steps from designing sculpts digitally to settings for slicing successful prints.
Discover 3d printing tips for beginners for optimizing prints when creating Warhammer miniatures with FDM or resin 3D printers to achieve higher quality, accurate sculpts with sharp details right off the build plate based on lessons from experienced hobbyists.
Learn where to find great 3D model files for warhammer and how to correctly prepare and slice supported pre-supported designs downloaded from popular marketplaces for flawless prints when expanding your Warhammer collections with unique printed armies.
Get definitive answers on is 3D printing warhammer is legal and understand recent changes around intellectual property protections, commercial use policies, tournament rules, and other key considerations before investing time into printing armies.
Master techniques for smoothing, priming, painting and finishing 3D printed miniatures to achieve stunning tabletop quality results in our updated guide for 2024 covering everything from support removal to advanced weathering effects suitable for Warhammer players.
Get creative kitbashing hybrid miniatures on a budget by expertly merging digital model parts sourced from various designers into cohesive new characters perfect for the tabletop using affordable 3D printing methods covered in this guide.