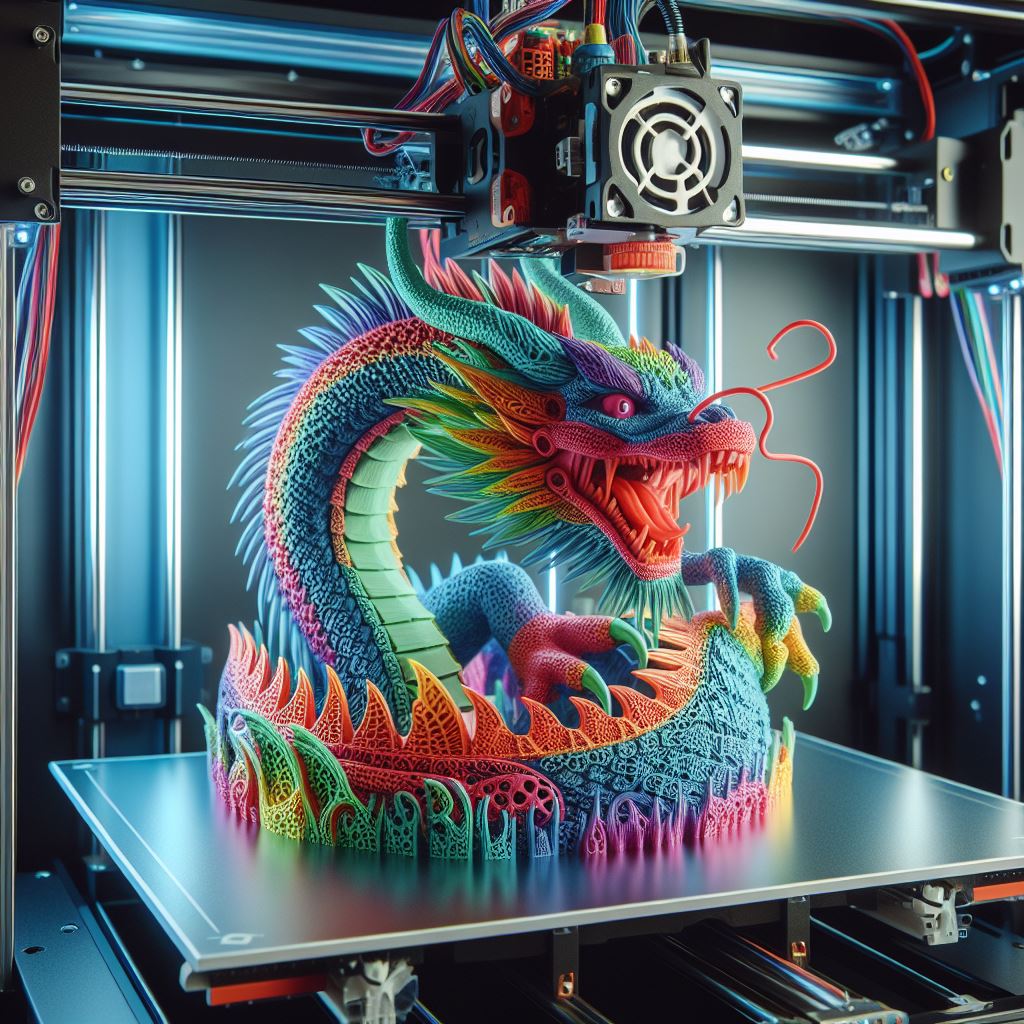
How to Remove Stringing on Your 3D Prints: A Guide For 2024
As a 3D printing enthusiast with over 20 years of experience, I know firsthand how frustrating stringing can be. Those thin wispy strands of plastic spanning your model not only look awful, but ruin all your hard work dialing in the perfect print.
I’ve dealt with my fair share of stringing over the years, but through diligent troubleshooting have figured out how to banish it for good. In this comprehensive guide, I’ll be sharing all my top tips and tricks so your 3D prints can be stringing free.
By the end, you’ll have all the knowledge you need to diagnose the root causes of stringing and fine-tune both your hardware and software settings for flawless prints every time. Let’s get started!
Causes of Stringing: Why It Happens in The First Place
Before we can prevent and fix stringing, it’s important to understand what causes it. Here are the main culprits behind those pesky strings on your 3D prints:
High Temperature The Hotend Temperature is Too High If your nozzle temperature is set higher than needed, the filament becomes excessively fluid and has an easier time oozing out, causing strands.
Solution: Lower the temperature in 5-10 degree increments until stringing stops. Don’t go below the filament’s minimum though.
Poor Retraction Settings
Retraction Distance or Speed Not Optimized If retraction distance is too short or speed too slow, molten filament won’t get pulled back quickly/far enough to halt oozing.
Solution: Increase retraction distance 1-2mm and speed 10-20mm/s gradually.
Nozzle Clogs and Residue Partial Nozzle Obstructions Even small flecks of old filament or debris left in the nozzle can impede flow and make plastic seep inconsistently.
Solution: Thoroughly clean nozzle before each print with wire brush, needle, or cold pull method.
Moisture in Filament
Absorption of Atmospheric Moisture Wetness causes filament to pop and sputter, forcing erratic oozing of excess material.
Solution: Store all filament in airtight boxes with desiccant packs. Dry before use.
First Layer Problems Poor First Layer Bed Adhesion
If the skirt/brim aren’t adhering well on that vital first layer, it takes longer to prime flow causing ooze.
Solution: Re-level build plate and adjust first layer settings like height and extrusion width.
Now that you know what typically causes stringing on FDM prints, let’s go through solutions for each issue. Follow these troubleshooting steps to pinpoint and fix your specific problem areas.

Setting the Ideal Nozzle Temperature Finding the Goldilocks Zone
Dialing in the perfect hotend temperature is crucial for preventing excessive ooze. Too hot and filament drips everywhere, too cold causes clogs. Where’s the sweet spot?
Print Temperature Calibration Towers
The best way to hone in on ideal nozzle temp is printing a dedicated temp tower test print. This model prints identical geometries while steadily raising the hotend heat so you can physically see results.
Here’s a great one from MatterHackers: https://www.matterhackers.com/store/digital-downloads/temperature-calibration-tower
Examine each section and find where stringing stops and print quality peaks – that’s your goldilocks temperature. Adjust slicer profile to match.
Material-Specific Recommendations Some handy starting points while temp testing:
- PLA: 190°C
- ABS: 235°C
- PETG: 225°C
- Flexibles: 210-230°C
Remember though, every brand of filament behaves a bit uniquely so don’t rely solely on presets! Do the tower test.

Optimizing Cooling Configurations Getting those Fans Flowing
Proper part cooling is imperative for quick solidification before the head moves again. Cranking up the fans can make a huge impact.
Checking Cooling Fans Health First, inspect cooling fans visually while printing. Are they spinning at full speed? Is airflow getting blocked by shrouds or wires? Are ducts aimed accurately at the nozzle and printed layers?
Replace any failing fan components and adjust ducting to hone in on the melt zones. Powerful cooling = less ooze.
Slicer Cooling Settings
Tweak software settings like fan speeds, layer times, minimum layer times, and maximum fan speeds to get as much airflow going over those delicate overhangs as possible.
For small layers, have fans blast at 100% constantly. Slow down print speed if needed so plastic solidifies before moving again.
Part Cooling Best Practices
- Use a minimum layer time of at least 15 seconds
- Lower temperature for small layer heights
- Increase minimum fan speeds to 65%+
Dialing in Retraction Values Finding the Sweet Spot Getting retraction settings perfected for your specific machine and filament type prevents ooze during travel moves. Too much or too little retraction causes other issues though so finding the right amount takes experimentation.
Retraction Test Prints Specialized test prints like this one below help narrow in on ideal retraction distance and speed by amplifying stringing with different settings variations.
https://www.thingiverse.com/thing:3353358
Typical Starting Points:
- Direct Drive:
Distance: 0.5-1mm Speed: 40-60mm/s - Bowden Drive: Distance: ~2mm Speed: 30-50mm/s
Adjust values gradually in increments of 1mm and 5-10mm/s until stringing disappears but no clicking or grinding happens.
Advanced Retraction Settings Other retraction settings like combing mode, minimum travel distance, and z-hop also prevent ooze through smarter toolpathing or avoiding dragged material.
Simplify3D’s coasting and wipe features are gamechanging for dialing in precision retraction control too.
Really focus on getting retraction perfected before anything else – it’s usually the main fix for pesky stringing!
Maintaining The Printer Hardware Stopping Stringing at The Source
While software settings go a long way, maintaining the physical 3D printer components themselves is just as crucial for preventing stringing issues down the road.
Thorough Cleaning Rituals Over time, material waste, dust, and residue accumulate heavily on key printer parts like hotends and moving components. Establish consistent cleaning workflows between each print or weekly.
Nozzle Cleaning Essentials:
- Brass brush
- Needle
- Wire brush
- Cleaning filament
- Cotton swabs
- Small flathead screwdriver
- Acetone (for ABS gunk)
Focus on meticulously scrubbing out any plastic left stuck inside the melted chamber and exterior nozzle surface. Even tiny flecks cause impedance and ooze.
Smooth Motion Components
On the axes themselves, regularly clear out old lubricant and reapply fresh grease to rods, bearings, belts, and lead screws. Keep everything sliding butter smooth!
The better shape your physical motion components are in, the less jerky/inconsistent the toolhead movements become, minimizing sudden ooze.
Monitoring Belt Tension
Loose belts amplify stringing since imperfect stepper motor pulses translate into sloppier printhead motion. Tightening belt tension helps precision.
Use belt tension gauges or print tension testers to set perfect tautness on the X/Y axes belts. For optimal accuracy, aim for guitar string level tightness.

Optimizing Bed Leveling and First Layer Promoting Perfect Adhesion
Getting the nozzle height perfectly dialed in for smashing those opening extrusion lines onto the build surface sets the stage for the rest rest of the print.
Leveling Protocol Best Practices To promote optimal “squish” and adhesion on first layer lines:
- Always level bed while heated (60°C for PLA)
- Use thicker paper (receipt paper)
- Set rear left corner as 0 point and tram other corners
- Gradually lower and test until faint scraping sound
If first layer still isn’t sticking well, try enabling a brim, increasing extrusion widths, or adjusting build plate offsets within the slicer profile itself. Don’t neglect first layer prep!

Summary So Far
Lots of Factors to Get Right As you can see, there are a ton of potential factors behind stringing – getting them all pre-emptively adjusted improves results exponentially.
To quickly recap:
- Temperature tower test for ideal nozzle temp
- Maximize cooling fan speeds/performance
- Dial in precise retraction settings
- Clean nozzle and components thoroughly
- Tension belts; tram bed level perfectly
With this strong foundation established, let’s move onto slicer tweaks and finishing touches for the best possible string-free prints!
Slicer Software Settings Strategies Optimizing Toolpaths for Minimal Ooze
The final piece of the stringing puzzle lies within the slicer software itself. Certain toolpathing and speed parameters greatly minimize opportunities for ooze.
Print Speed vs. Travel Speed Faster print head movement over empty space = less potential for stringing. But actual extrusion speeds while depositing material may need to slow down so plastic can solidify quicker after each pass.
Finding the right balance here prevents ooze while maintaining good flow and preventing under-extrusion.
Typical values:
- Print speed: 40-60mm/s
- Travel speed: 150-200mm/s+
Wipe Settings Specialized “wiping” motions at the end of each loop cycle act like tiny automated stringing cleanup moves.
Having the nozzle trace a small inward circle at layer boundaries pulls away the last little bit of ooze along for the ride before jumping over empty space again.
Enable 5-10mm wipe distances in the slicer end script routines. This works wonders!
Combing Mode “Combing” has the nozzle follow printed contours as much as possible instead of directly jumping between segments. Keeping it inside material boundaries prevents string-forming arcs over the middle.
Enable and set to “All” for maximum ooze avoidance through smarter paths.
Temperature Settings Tricks Cooling Slow Layers More
For tiny layer heights below 0.2mm, plastic won’t solidify fast enough before the next pass, causing mid-air strands. Slow everything down and blast extra part cooling!
In your slicer, set a Minimum Layer Time value of 15-25 seconds forcing a slowed pace for best results on fine resolution models.
Start Small, Scale Up
When designing models to print, first prototype functional sections at smaller scales focusing on dimensionally accuracy and surface finish.
Refine slicing settings at lower sizes where flaws like stringing show more clearly. Then scale up once dialed in perfectly.
Getting Rid of Those Last Strings
Even with everything preemptively adjusted, some occasional strings still manage to sneak their way onto certain geometries. Luckily, removing them post-print is straightforward.
While Hot Right after a print finishes and the parts are still warm, quickly grab some needle nose pliers to yank away stubborn wisps before they cool and harden on.
Heat + mechanical leverage lets you rip off strings with ease post-print while the plastic is still slightly molten.
Sanding Tools
For more rigid strands fused onto the model, various sanding tools quickly buff them away. Needle files, small sanding sticks, emery boards, and fine grit papers work wonderfully.
Just be patient and gently sand problem areas without altering the actual print’s geometry. Make sure to polish afterwards!
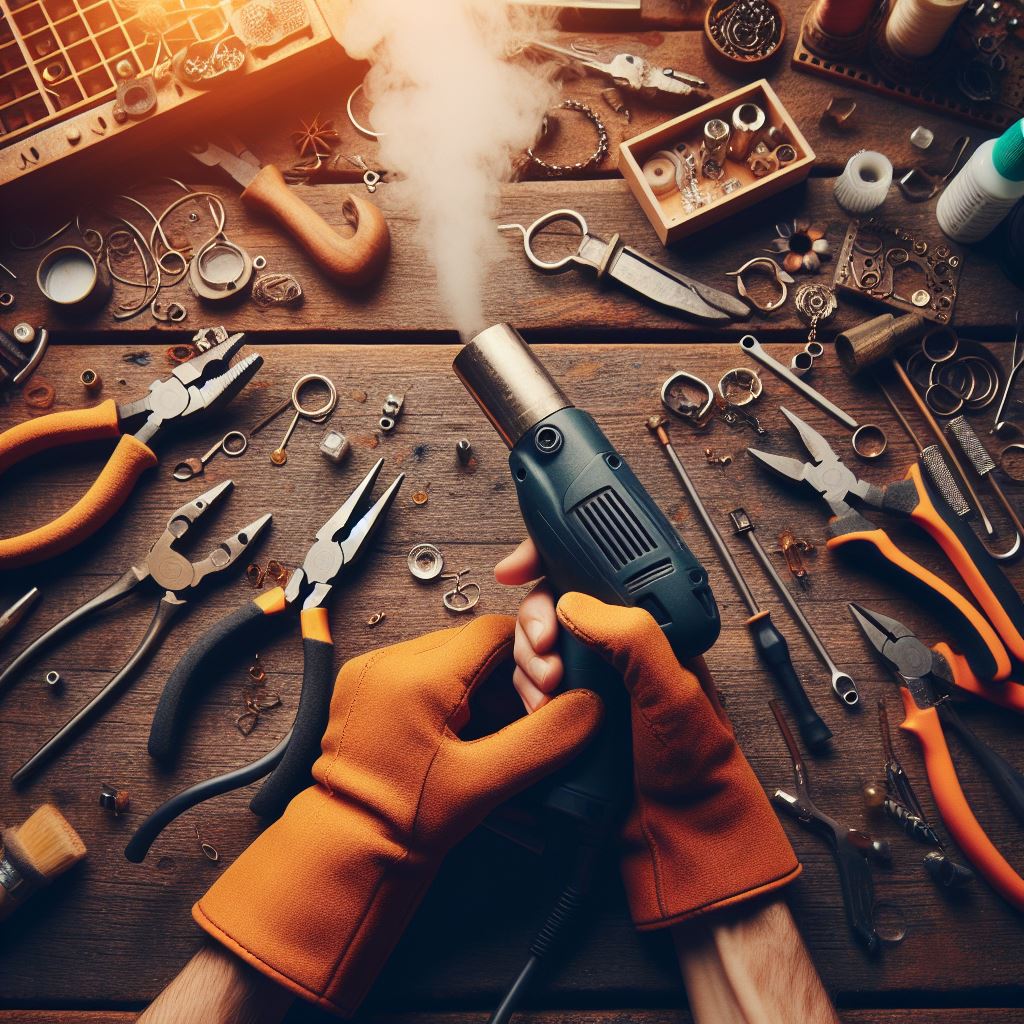
The Trusty Heat Gun
For rapid clean up of PLA and ABS prints, a short blast from a heat gun liquifies strings so they can be flicked or wiped away with cotton swabs. Don’t leave heat concentrated in one spot too long though!
Be extremely careful handling hot prints – use silicone pads and grabbers to avoid getting burned.
And voila! Persistent string removal made easy as pie. Now let’s wrap everything up into a nice quick reference checklist format…
Final Stringing Troubleshooting Checklist The Ultimate Step-By-Step Guide Follow this sequence when diagnosing and resolving stringing on your 3D prints for guaranteed results:
- Inspect Nozzle Check nozzle exterior and interior openings for any obstructions, gunk, or residue. Clear out with wire brush, needle, or cold pull method.
- Dry Filament
Store all filament sealed with desiccant. Dry in oven at 60°C for 4-6 hours if moisture present. - Print Temp Tower Identify ideal nozzle temperature for minimum ooze through test tower model examining each vertical band.
- Tweak Cooling System Maximize cooling fan speeds and airflow focused right on nozzle tip using ducting. Slow prints down if needed.
- Optimize Retraction Dial in perfect retraction distance and speed for your printer through specialized test prints – priority #1!
- Increase Travel Speeds
Accelerate non-extrusion printhead travel movements over empty space to minimize time for ooze. - Adjust Wipe Settings Add tiny inward wipe path at end of each loop to clean nozzle tip.
- Enable Combing Mode Keep toolhead moves within print contours as much as possible avoiding criss-cross travel over middle areas.
- Slow Down Small Layers
For tiny resolution models, set minimum layer time to 15+ seconds so plastic can harden quicker. - Clean Up Strings Post-Print
Remove any last lingering strings using needle nose pliers while still hot or handy sanding tools.
Phew, I know that was a total firehose of crucial knowledge about solving 3D print stringing issues – truly the complete A to Z guide!
If anything is still unclear or you have any other questions, please let me know in the comments. I love helping fellow 3D printing enthusiasts in the community.
And don’t forget to check out my youtube channel WarhammerUniverse for even more in-depth tips, tricks, and project guides so you can master filament-based additive manufacturing!
Related Articles
Find the leading 3D printers for miniatures in 2024 – compare 15+ top models weighing budget, print quality, speed and other key factors.
Get clarity on 2024 laws for 3D printing miniatures – know the latest permissions surrounding IP and copyrighted works before you print.
Learn techniques for preparing miniatures – master cleanup, priming, painting and finishing durable tabletop-ready 3D printed models.
Calculate full costs for 3D printing armies – weigh printer, resin/filament, paint and 3D model expenses against army size considerations.
See how nozzle size impacts resolution – balance detail against print speed when crafting high quality miniatures for the tabletop.
Compare starter 3D printer technologies on affordability, ease of use and print quality factors – great for new hobbyists.
Apply 3D printing basics as a beginner – tackle test prints then master software, model prep, post work and painting.
Get key strategies for success in 3d Printing when printing tricky Warhammer miniatures – supports, orientation, plate adhesion and more.
Master A guide in workflows for 3d printing – produce robust prints, apply vibrant painting and preserve finishes for tabletop play.
Learn painting techniques for 3d printed miniatures, post-processing and finishing durable 3D printed miniatures – works for first-timers or veterans.