
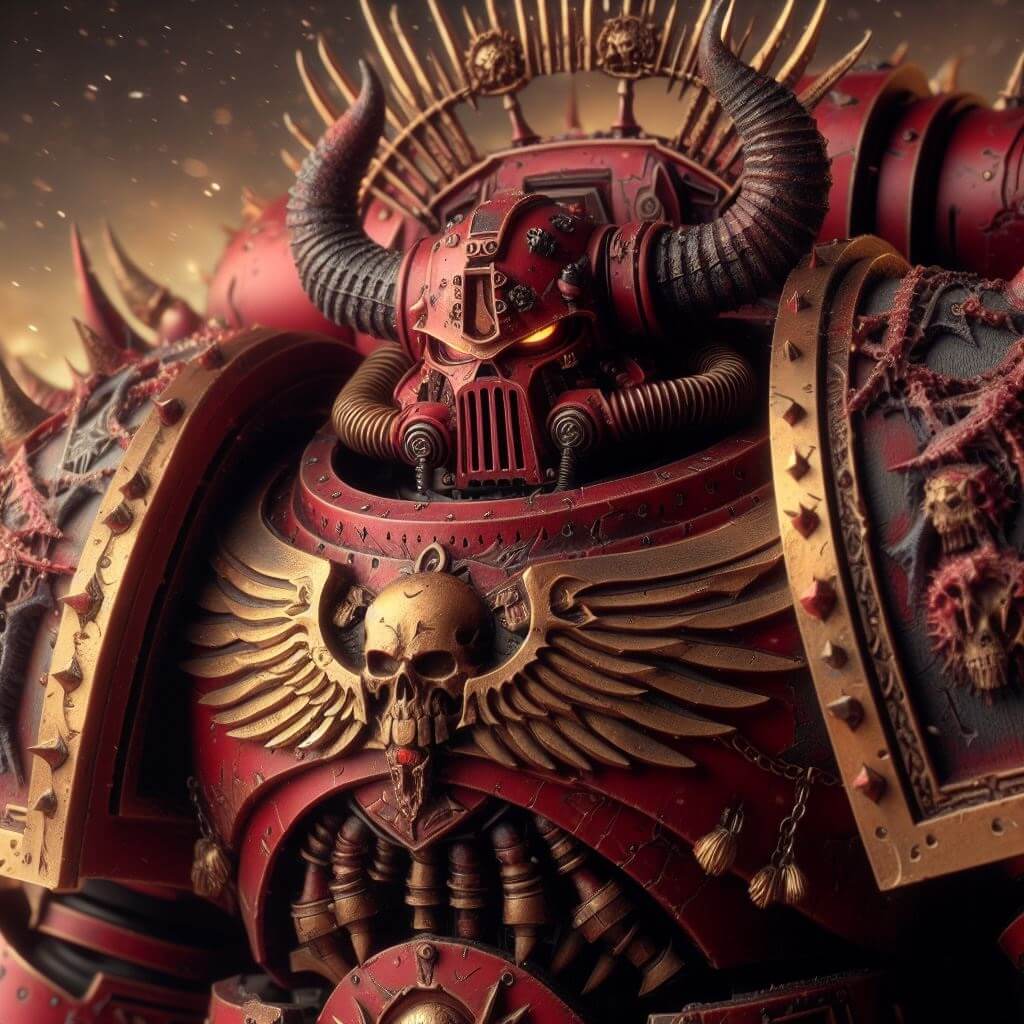
World Eater Paint Starter Set A Comprehensive Guide for Hobbyists
Attention all Warhammer 40,000 enthusiasts! If you’re looking to add some serious muscle to your army, look no further than the World Eaters. In this comprehensive painting guide, we’ll show you how to transform these brutal warriors into stunning miniatures that will dominate the battlefield. Get ready to learn about the essential paints and techniques needed to bring the World Eaters to life!
Want to learn more about the loyal Khornate World Eaters?
Expanding Your World Eaters Army
As your World Eaters grow in number, consider adding variety and flexibility to your force:
- Daemon Engines: Incorporate powerful machines like the Brass Scorpion or Lord of Skulls to devastate your enemies.
- Khorne Daemons: Summon the minions of the Blood God, such as Bloodletters and Flesh Hounds, to fight alongside your World Eaters.
- Converts and Kitbashes: Use bits from other kits or third-party manufacturers to create unique characters and units that stand out on the battlefield.
- Terrain and Scenery: Craft or purchase thematic terrain pieces, such as blood-soaked altars or skull piles, to create an immersive playing experience.
Interested in expanding? Checkout our World Eaters Starter Set
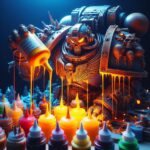
Essential Paints for World Eaters
Before we begin, let’s review the key paints you’ll need to achieve the iconic World Eaters look:
- Khorne Red: The primary color for World Eater armor, representing their allegiance to the Blood God.
- Evil Suns Scarlet: A vibrant red for highlighting and adding depth to the armor.
- Runelord Brass: Perfect for trim, adding a touch of dark gold to the miniatures.
- Retributor Armour: A brighter gold for accent pieces and details.
- Balthasar Gold: An aged gold, ideal for battle-worn elements.
- Agrax Earthshade: A versatile wash for shading and creating depth.
- Rakarth Flesh: Essential for painting skulls and bones adorning the armor.
- Reaper’s Polished Bone: A lighter bone color for highlighting.
- Administratum Grey: Ideal for edge highlighting and adding sharp contrasts.
- Leadbelcher: A metallic silver for weapons, trim, and mechanical parts.
- Abaddon Black: Used for the deepest shadows, undersuits, and base rims.
- Nuln Oil: A must-have wash for shading metallic elements.
Step-by-Step Painting Tutorial
Now that we have our paints ready, let’s dive into the painting process. I’ll guide you through each step, sharing tips and techniques I’ve learned over the years.
Need brushes before you start? Checkout our guide on the Best Brushes for Painting Minis
Preparing the Miniatures
- Clean any mold lines, and assemble the miniatures using plastic glue or super glue.
- Mount the models on painting handles or miniature corks for easy maneuvering.
- Prime the miniatures with Chaos Black spray primer for a clean, durable base.
Basecoating the Armor
- Apply a basecoat of Khorne Red to all armor panels, using multiple thin coats for even coverage.
- Shade the recesses with Agrax Earthshade, allowing it to pool in the deepest areas.
- Layer Evil Suns Scarlet on the upper surfaces, leaving Khorne Red visible in the shadows.
Highlighting the Armor
- Mix Evil Suns Scarlet with a small amount of Rakarth Flesh and highlight the edges.
- Add more Rakarth Flesh to the mix for a final highlight on the sharpest edges.
Painting Trim and Details
- Basecoat all trim and accent pieces with Balthasar Gold.
- Shade the gold elements with Agrax Earthshade, focusing on the recesses.
- Highlight the trim with Runelord Brass, followed by Retributor Armour on the sharpest points.
Undersuit, Weapons, and Accessories
- Paint the undersuit with Abaddon Black, using thin, even coats.
- Basecoat weapons and mechanical parts with Leadbelcher.
- Shade the metallic elements with Nuln Oil for added depth and definition.
- Highlight the black undersuit with Administratum Grey, focusing on edges and raised areas.
- Highlight weapons and mechanical parts with Runefang Steel.
Painting Skulls and Bones
- Basecoat skulls and bones with Rakarth Flesh.
- Shade the recesses with Agrax Earthshade for a aged, weathered look.
- Highlight the raised areas with Reaper’s Polished Bone, adding depth and contrast.
Finishing Touches
- Paint any lenses or eyes with Abaddon Black, then add a small dot of Evil Suns Scarlet for a glowing effect.
- Add decals or transfers, if desired, to further personalize your World Eaters.
- Apply a matte varnish to protect your work and maintain the grim, battle-hardened appearance.
Basing
- Cover the base with a texture paint, such as Armageddon Dust, for a realistic battlefield look.
- Drybrush the texture with Rakarth Flesh, followed by a light drybrush of Reaper’s Polished Bone.
- Add small rocks, debris, or tufts of grass to create an immersive environment.
- Paint the base rim with Abaddon Black for a clean, finished look.
Optional Ideas
Color Scheme Variations
While the classic World Eaters color scheme is predominantly red and brass, there’s room for personal interpretation and customization:
- Pre-Heresy World Eaters: Experiment with white and blue armor, reminiscent of their loyalist origins.
- Khorne Berserkers: Incorporate more brass and black elements to differentiate these frenzied warriors.
- Bloody Hues: Vary the shades of red used, from deep crimson to bright scarlet, for a visually striking army.
- Personalized Heraldry: Add unique symbols, markings, or freehand designs to create a sense of individuality within the ranks.
Looking for some paints? Check out the Best Starter Paint Sets For Warhammer 40k
Weathering and Battle Damage
For those looking to add an extra level of realism, consider applying weathering and battle damage effects:
- Stipple Rhinox Hide sparingly on the armor edges to simulate chipped paint.
- Apply streaks of Agrax Earthshade in a vertical motion for a gritty, weathered appearance.
- Drybrush Runefang Steel along the edges of weapons and armor to represent scratches and wear.
- Experiment with weathering pigments or enamel washes for more advanced effects.
Showcasing Your World Eaters
Once your World Eaters are painted and battle-ready, it’s time to showcase your hard work:
- Photography Tips: Use a lightbox or natural light, and experiment with different angles and backgrounds to capture the best images of your miniatures.
- Social Media: Share your completed World Eaters on social media platforms like Instagram, Twitter, and Facebook to connect with the wider Warhammer community.
- Display Options: Invest in a display cabinet, shelf, or custom foam trays to protect and proudly exhibit your collection.
- Narrative and Lore: Write background stories for your characters and units, adding depth and personality to your army
Frequently Asked Questions
Q: Can I use alternative paints from other brands?
A: While we recommend using the Citadel paints mentioned in the guide, you can substitute them with similar colors from other brands. However, be sure to test the colors beforehand to ensure they match your desired scheme.
Q: How can I speed up the painting process for a large World Eaters army?
A: To paint your World Eaters more efficiently, consider batch painting and using techniques like drybrushing and airbrushing. Focus on the essential elements first and add details later. You can also streamline your color scheme for rank-and-file units.
Q: What should I do if I make a mistake while painting?
A: Don’t worry! Mistakes are a part of the learning process. You can often correct errors by reapplying the basecoat or using a bit of paint remover. Remember, practice makes perfect, and even small imperfections can add character to your miniatures.
Q: How can I make my World Eaters stand out from others?
A: To create a unique identity for your army, experiment with color scheme variations, personalized heraldry, and custom conversions. Develop a compelling narrative for your force and showcase their personality through basing and weathering effects.
Conclusion
Painting World Eaters can be a rewarding and enjoyable experience for hobbyists of all skill levels. By following this step by step guide and using the recommended paints, you’ll be well on your way to creating stunning, battle-ready miniatures that capture the essence of these bloodthirsty warriors.
If you’re looking for a more in depth guide, head over to Spikey bits!
If you have any questions or suggestions for future content, please let us know. Together, YOU can create an army of World Eaters that will strike terror into the hearts of your foes on the tabletop!
Related posts:
 Khorne Paint Starter Set: Must Have Amazing Paints for Bringing Khorne Daemons to Life In the 40k Universe
 The Best Way to Unglue and Strip Paint from Warhammer Miniatures
 How to Thin Your Paints for Miniatures: Why You Must Thin Them!
 How to Paint Blend for Miniatures: Unlock the Power of Seamless Color Transitions


