Beginner’s Guide to Models in Slicer Software: Everything You Need To Know To Get Started With 3D Printing
Whether you’re a teacher hoping to bring tactile graphics to your students or want to create custom toys and household items, 3D printing opens up exciting new possibilities. But for beginners, getting started with models in slicer software can feel overwhelming.
In this comprehensive guide, we’ll walk you step-by-step through finding models, preparing them in a slicer program, and finally printing out your creations on a 3D printer. Along the way, we’ll share tips, resources, and advice to set you up for success. Let’s get started!
Understanding 3D Printing and Slicer Software
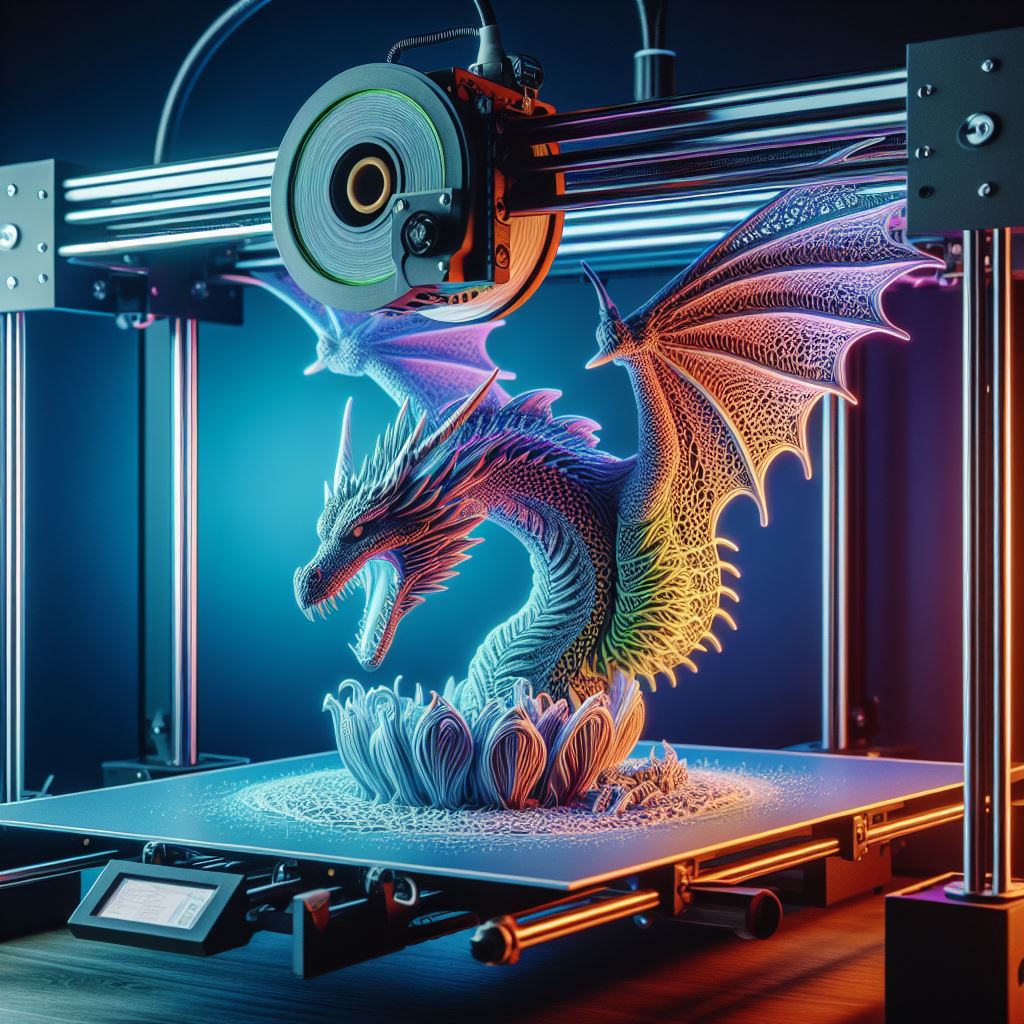
So what exactly is 3D printing? It’s a technology that allows you to translate digital 3D models into physical objects. The printers work by building up designs layer-by-layer using melted plastic filament.
But before you can print anything, you need to prepare your 3D model file using a program called a slicer. Slicer software essentially translates your digital model into instructions the printer can follow. It does this by slicing the model into layers and generating toolpaths for the print head to extrude plastic filament.
Choosing a Slicer Program
Ultimaker Cura is one of the most popular free, open-source slicers and a great option for beginners. But alternatives like PrusaSlicer, Bambu Studio, and Creality Slicer are also excellent choices. They all function similarly with some minor differences.
We’ll be using Cura for this guide, but feel free to experiment with different programs to find your favorite. The key is choosing one that supports your specific 3D printer model.
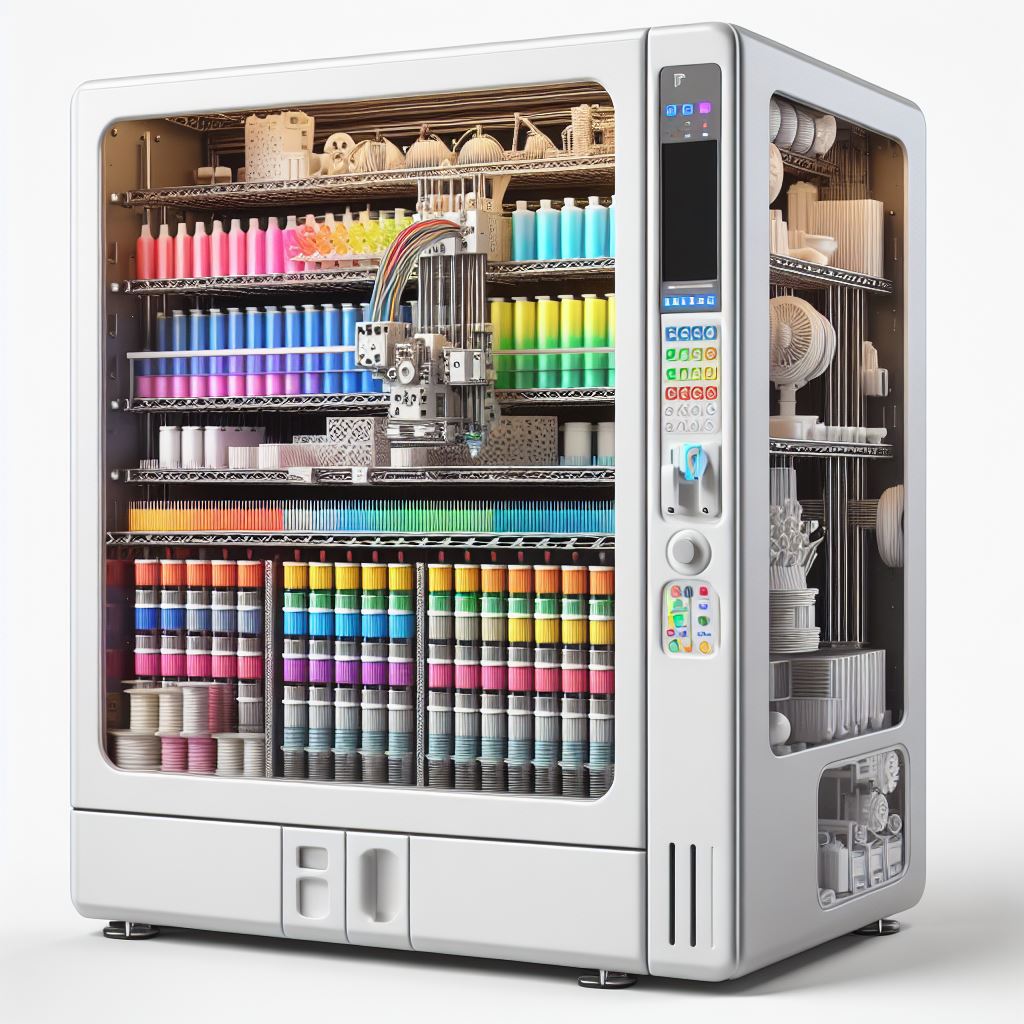
Finding 3D Models to Print
You can find tons of free 3D model files online to download and print. We recommend starting with these popular sites:
- Thingiverse – Over 1 million free models with varying quality
- Cults3D – Tests prints before publishing so higher chance of success
- My Mini Factory – Great Scan the World collection of real-world scans
- Printables – Quickly growing model library
You can also use sites like Yeggi or STLFinder to search multiple 3D model libraries at once.
And if you want to design your own creations, programs like Tinkercad, Blender, and Fusion 360 allow you to model original 3D objects.
Models typically download as .STL files, the most common format used in 3D printing.

Slicing and Preparing Models in Cura
Once you’ve downloaded model files, it’s time to prepare them for printing using Cura. Here’s an overview of the process:
Installing Cura
First, download and install Cura if you haven’t already. Make sure to choose the right version for your operating system.
When first opening the software, you’ll need to agree to the user terms. Take a look at the What’s New page so you know about recent updates too.
Adding Your Printer Profile
Next, add your 3D printer model to Cura so it can customize settings specifically for your machine. Just choose your make and model from the list of non-networked printers.
Double check that all the pre-loaded machine settings like build volume, nozzle size etc. match your device. And be sure to set the slicer to use the same material filament type you plan to print with.
Importing and Positioning Models
With your printer profile loaded, click “Open File” and select your .STL model you want to print. It will appear on the virtual print bed in Cura.
Use the scale, move, and rotate tools to resize your model and position it appropriately on the plate. Be mindful of your printer’s actual build volume so you know the full area you have to work with.
Adding Supports
Pay special attention to any overhangs or islands in your imported model. These are sections that print in mid-air without support underneath.
You’ll need to toggle on auto-generated support structures in Cura to provide scaffolding for those tricky areas. Leaving them unsupported can lead to failed prints. The supports easily snap off later leaving your finished print intact.
Slicing and previewing G-code
With your model oriented and supported, click “Slice” to have Cura process it into printable layers. This generates what’s called G-code, the instructions your printer will follow to construct the object.
Cura lets you preview the sliced model so you can check for any potential issues before printing. Scroll through the layer view to ensure supports were added properly and no defects are visible.
Saving print file to SD card
Finally, save the sliced G-code file from Cura to a microSD card or USB drive. Most printers accept external storage for printing untethered.
Once saved, pop the card into your printer, select the file on the display interface, and hit print!

Printing Your First Model
When your printer starts up, be sure to watch it closely—especially that all-important first layer going down. This establishes the foundation for all subsequent layers, so any issues here can quickly snowball into a failed print.
Here are some top tips for your first test print:
- Stick around for the first several minutes to monitor bed adhesion. If the melted filament isn’t sticking correctly, stop the print and re-level or clean the surface.
- Speaking of bed prep, apply some glue stick or hairspray to help plastic adhere better.
- Keep an eye out for strings, oozing, warping or layers separating from supports. Catch these problems early before they compound.
- For best results, use PLA plastic filament and keep your print settings simple. You can fine tune things later as you gain experience.
Let the excitement of watching your very first 3D printed object come to life wash over you! It likely won’t be perfect, but learning from initial failures will go a long way.
Advanced Slicer Settings To Experiment With
Once you’ve gotten the basics down and successfully completed some test prints, it’s time to level up your slicer skills.
In Cura’s advanced settings panel, you gain tons more control to really optimize and customize results. Here’s an overview of some key settings to understand:
Layer Height: Thinner layers mean more detail but will extend print times. 0.2mm is a good starting point.
Infill Percentage: Sparse infill saves filament and reduces weight, while dense infill provides stronger objects. 20% is suitable for most prints.
Print Speed: Faster prints sacrifice accuracy but save time. 45-60mm/s is a good range for PLA filament.
Cooling: Optimize cooling fan speed and settings to prevent warping, especially on small overhangs.
Support Types: Experiment with different pattern types or set support density. Easy removal supports balance usability with surface finish.
You can really dig into all the advanced nuances by creating custom printer profiles tailored to different model types. Save groups of settings under separate profiles to easily access them later.
Special Considerations For Visually Impaired Students
While 3D printing opens up unique opportunities for blind and visually impaired students to engage with tactile learning, some special considerations should be made to ensure accessibility.
When it comes to slicer software itself, check out OpenSCAD which offers full screen reader accessibility to start modeling your own designs.
Focus on printing high contrast textures and bold shapes that convey depth effectively through touch. You’ll also want to perfect printing customized braille labels which can be modeled in various apps.
And be sure to check out incredible informational guides on adaptable 3D printing from groups like ANZAGG and Oregon’s BVIS Technology sites. Resources like the Diagram Center offer techniques tailored specifically for tactile graphics too.
Most importantly, take things slowly while evaluating 3D printed models from a visually impaired user perspective. Consider all sensory learning opportunities and user experience factors from shape detection to safety and enjoyment.
Troubleshooting Common 3D Printing Issues
Don’t be discouraged if you run into problems during your slicing and printing endeavors. Even experienced makers run into model fails all the time. Here are some common issues and fixes:
Models Not Sticking to the Print Bed
- Re-level the print surface so your first layer gets proper adherence
- Wipe down the print bed to remove any oil residue
- Use glue, tape, or adhesion solutions like hairspray on the platform
- In Cura, enable Raft or Brim bed adhesion settings for bigger model footprints
Filament Stringing or Oozing
- Check nozzle temperature is not too high for the filament type
- Enable retraction in Cura to prevent oozing when travel moves occur
- Slow down print speeds for intricate top layers prone to stringing
Warping or Layer Splitting
- Use an enclosure to prevent temperatures changes and drafts
- Optimize part cooling fan settings and placement
- Try a better cooling duct upgrade for small overhangs
- Increase bed temperature to improve first layer adhesion
As with any new skill, expect a learning curve. But with some guided troubleshooting and persistence through failures, you’ll be amazed at the awesome models you can create!
Conclusion
Beginning your 3D printing journey with models in slicer software opens up an exciting world of digital fabrication possibilities. Follow this step-by-step guide to get started downloading free models, preparing them in Cura, tweaking slicer settings, and printing out your designs.
Don’t get discouraged by initial failed prints—that’s part of the process! Take advantage of our troubleshooting tips and accessibility guides tailored to visually impaired users. With some practice getting comfortable with the basics, you’ll be ready to unlock more advanced techniques and really bring your 3D printing dreams to life. Print on!
Related Articles