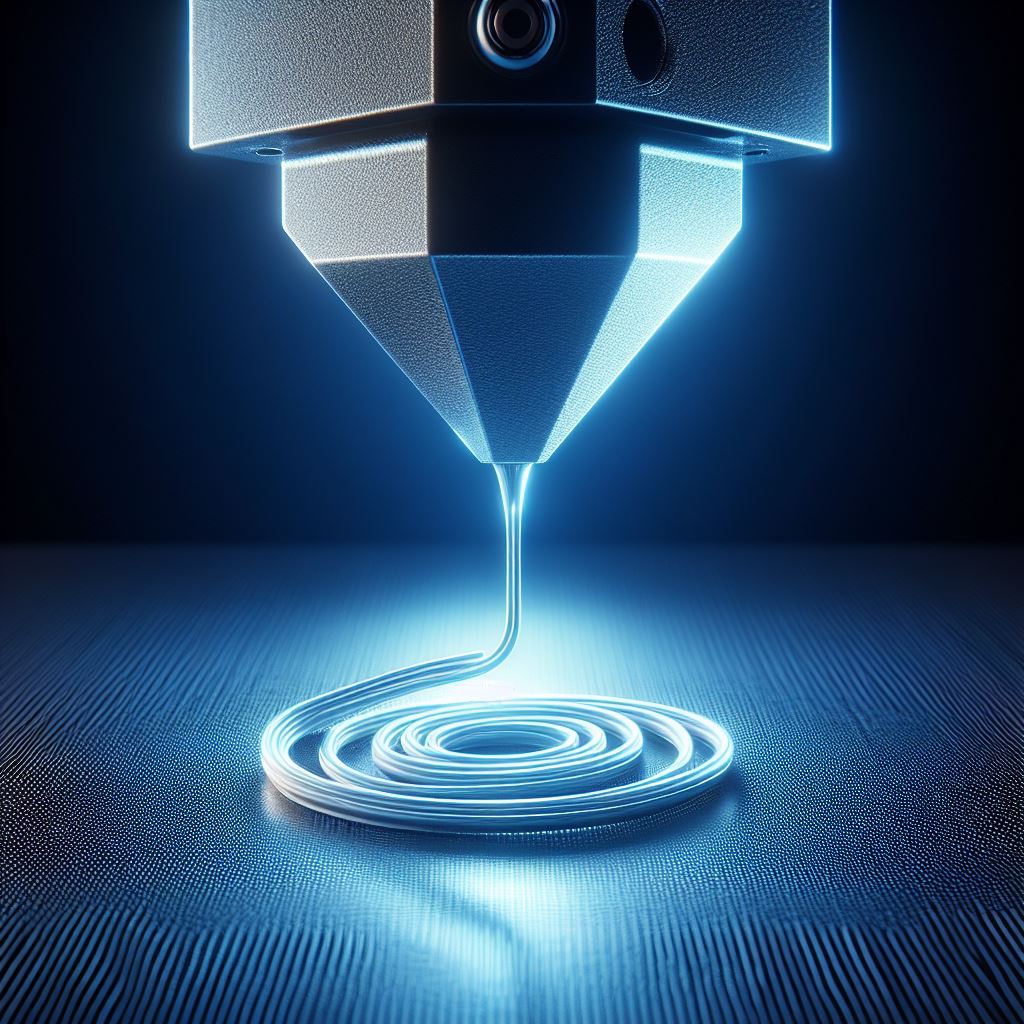
How to Get a Good First Layer in 3D Printing
As hobbyists with over 20 years of experience in miniatures and tabletop war gaming, we at warhammeruniverse.com know that a good first layer is critical for successful 3D prints. The first layer acts as the foundation on which the rest of the print is built, so getting it right is key. In this comprehensive guide from our team of experts, we will walk you through all the steps and best practices for achieving a perfect first layer for flawless prints every time.

Why the First Layer Matters
The first layer in a 3D print determines how well the model sticks to the print bed. If the first layer does not adhere correctly, the print is likely to fail further up the layers. Issues like warping, shrinking, cracking and print detachment often stem from first layer problems.
By optimizing the first layer settings and setup, you can avoid these headaches down the line. Dedicating time to calibrate and tune the initial layer will pay dividends with smooth printing and better end results. We always emphasize dialing in the first layer before attempting any ambitious big projects.
On our Youtube channel we also have a video explaining more about common first layer issues and their solutions.
Step 1: Level the Print Bed
The first thing to check is whether your print bed is properly leveled. An uneven print surface will make it impossible to get a uniform first layer.
Manually leveled beds should be checked regularly to ensure the distance between nozzle and bed is even at all points. Refer to your printer manual and physically adjust the screws or knobs under the build plate if needed.
For auto-leveling beds, run the built-in calibration utility to compensate for any inaccuracies. Most printers have options to initiate leveling sequences. The nozzle and sensor will map the bed topography and account for dips or high points.
Use a Bed Leveling Helper
Specialized tools like gauge blocks and feeler gauges allow you to accurately set and verify bed leveling at precise heights. Slowly move the block or gauge across the bed while slowly raising it until a slight scratching is felt. Lock this height in as your zero point baseline.
Bed visualizer plugins for slicers also help assess leveling. The generated heatmap graphs make it easy to pinpoint problem areas for targeted hardware adjustment.
Online marketplaces like CGTrader offer various printable calibration models and bed level test patterns as well.
Step 2: Adjust the Nozzle Height
The optimal nozzle distance from the print bed can vary between different machines and filament materials. Take the time to properly dial in the best ‘squish’ for excellent first layer adhesion.
Use the Z-Offset Tuning Controls
Refer to your printer’s documentation for specific instructions on tweaking the Z-offset value. Lower offsets reduce nozzle height while higher values increase it. Typically, adjustments in 0.05mm increments are done to fine-tune gradual changes.
Consult the Bed Leveling Wizards
Many printers have built-in step-by-step guidance to simplify first layer calibration. Menu options may be labeled as ‘bed leveling’, ‘tramming’ or ‘live adjust Z’. Follow the on-screen prompts to tweak the nozzle position as directed.
Inspect Test Prints
The best way to optimize first layer height is by observation. Print dedicated models with patterns or grids that allow you to visualize the nozzle relationship with the bed. Analyze the test prints and compare them to reference charts before further modifying Z-offset.
Step 3: Adjust Temperature Settings

Having the optimal extrusion and bed temperatures helps the first layer plastic flow smoothly and solidify correctly. Settings that are too low can prevent adhesion while excess heat can cause elephaint’s foot or blobbing.
Extruder Temperature
Start off by preheating both the nozzle and bed to the minimum temperatures stated on your filament spool. For PLA, 180°C extruder and 60°C for the bed is common. PETG and other materials may require higher heats. Slowly increment in 5 or 10 degree steps until you find the ideal zone.
Heated Beds
If your first layer is sticking but detaching mid-print, the bed may be cooling too quickly. Insufficient thermal consistency can lead to warping and popping free. Turn up the bed temperature 5 to 10°C at a time until full prints complete without issues.
Ambient Temperature
Your ambient room temperature can also impact the performance of the thermoplastics. Printing in cold environments may necessitate an enclosure to retain heat. Likewise, hot ambient temperatures may require active cooling to counteract drooping or sagging.
Step 4: Adjust the Cooling Settings

Just like with temperature, cooling also needs to be balanced for an optimal first layer. Insufficient part cooling can lead to blobbing and ugly surfaces. Overcooling risks shrinkage and bed separation.
Part Cooling Fans
If your printer has adjustable fan speeds, reduce the cooling levels for only the initial layer. This gives the plastic more time to bond without freezing prematurely. Slowing the speed below 50% is recommended. Then cooling can be restored for subsequent top layers.
Some handy mods like the Dual Fan Duct allow independent control over the part cooling fan vs the hotend fan.
Bridge Fan Settings
If your slicer has bridge fan settings, tweak the values to help plastic cross any tiny gaps between lines for a solid fill. Increased bridge fan speed cools filament faster allowing bridges over previously printed sections.
Step 5: Optimize the First Layer Printing Speed
Faster print speeds often come at the cost of quality and accuracy. By slowing things down for the initial layer, you allow better adhesion and prevent mistakes that can snowball into bigger issues.
Print Speed Percentage
A good starting point is 30% to 50% of your normal print speeds. So slow down your first layer speed to 30mm/sec if your standard speed is 60mm/sec. Going below 30mm/sec runs the risk of allowing filament to cool and solidify in the nozzle.
Volumetric Flow Rate
In some cases, slowing print speed too much can also back up molten filament in the hot end. If you encounter extrusion issues, slightly increasing the flow rate by 5% to 10% for the first layer only can help purge any clogs.
Acceleration Controls
Lower acceleration and jerk control settings will also reduce the speed changes and help the first layer go down more smoothly. But do not reduce these values for higher layers as it will greatly increase print time.
Step 6: Adjust the Layer Height
Layer height is one key setting that can improve first layer squish and adhesion when dialed in properly. A thicker initial layer is better able to bridge gaps or imperfections.
Solid First Layer Height
For 0.4mm nozzles, a first layer height between 0.2 to 0.3mm is ideal. Going slightly taller allows more squish which aids bed adhesion. Just ensure the height is not over 70% of your nozzle diameter to prevent extrusion issues.
First Layer Horizontal Expansion
Increasing this setting in your slicer will cause the first layer to print slightly wider. Having the extra surface area adhered down prevents warping further into the print. But take care not to exaggerate this value too much or you risk the nozzle colliding with an overhanging bulge.
Step 7: Add Supports Structures
Dedicated support structures provide additional surface area for bed adhesion which reduces warping stresses. They also allow tuning the first layer independently of the main model for better calibration.
Rafts
Rafts create a thick gridded base layer underneath your print which sticks strongly to the bed before the model is built on top. Adjusting the raft air gap, margin, and interface layers allows customizing contact with the bed versus print.
Brims
Brims are perimeter lines around the footprint of the part so they increase surface adhesion while keeping the bottom face clear of obstructions. Wider brims multiply the anchoring effect but are also more difficult to remove post-print.
Skirts
Skirts outline the outer boundaries of the print without actually touching it. They serve to prime material flow before the print starts so the first layer goes down more reliably. Multiple skirt loops allow time to tweak bed leveling and nozzle height before the model begins.
Step 8: Enhance Bed Adhesion
Preparing the build surface appropriately goes a long way towards getting prints to stick successfully. Bed surfaces should be cleaned and potentially treated for optimal adhesion.
Cleaning the Bed
Wipe down print beds with isopropyl alcohol before every print. This removes any contaminating residues left behind which could impact bed adhesion. Avoid touching print surfaces with bare hands after cleaning.
Adhesion Promoters
Glue stick, hairspray, and specialty adhesion solutions can be applied sparingly to create a tacky base layer. They act as intermediaries between prints and the bed surface. Be mindful not to overload excessive amounts which can degrade surface quality.
We have also experimented with custom spray textures and proprietary coatings with good results improving first layer reliability.
Surface Materials
Print bed build surfaces like PEI, BuildTak, and garolite can be great for adhesion with materials like PLA that may not stick well directly to glass. Upgrading to better bed surfaces is an easy enhancement.
Step 9: Adjust Filament Properties

Filament choice plays a major role in first layer success. Some materials and colors stick much better than others with the same slicer and printer settings. You may need to tweak settings per material.
Storage Conditions
Improvements are often seen after thoroughly drying filament. Materials can absorb ambient moisture which leads to bubbling and steaming issues affecting surface finish. Dedicated dryers and food dehydrators work very well for this.
Color Pigments
Darker pigmented filaments tend to adhere better as they absorb radiant heat better. The added thermal energy assists bonding. If you have issues with lighter translucent filament, try a more opaque version and increase bed temperature.
Specialty Properties
Some filaments are engineered and formulated specifically for superior bed adhesion. For example, colorFabb’s LW-PLA is designed to stick with only the standard 60°C bed.
Step 10: Post Process for Removal

Getting prints to adhere during printing is only half the challenge. Once cooled, you need to be able to remove finished pieces cleanly without damaging the bed or model.
Part Removal
Let parts fully cool to room temperature before attempting to pry them off build surfaces. Heating the bed slightly can help parts self-release as the material expands.
Flexible print removal tools are useful for prying models and protecting build surfaces during removal.
Surface Protection
Regular reapplication of adhesion promoters like gluestick and hairspray will build up residue over time. Every so often, beds should be thoroughly cleaned with solvents to restore original finish. Remove and replace tape surfaces once they become too soiled.
Conclusion
We hope this comprehensive first layer guide gives you all the tools and knowledge needed to start optimizing the foundation of your 3D prints. Let us know if you have any other questions! Getting the first layer dialed in correctly makes such an incredible difference for print quality, bed adhesion, and reducing headaches down the road.
Be sure to check out our Youtube channel for more