How to use STL Files for Better 3D Prints
As a long-time hobbyist and enthusiast with over 20 years of experience in miniatures and modeling, I’ve had the privilege of witnessing first-hand the evolution of 3D printing technology. From the early days of stereolithography to the latest advancements in desktop printers, mastering the nuances of STL files has been critical for achieving flawless prints time and time again.
In this comprehensive guide, I’ll be sharing everything you need to know about STL files – the universal standard in 3D printing. We’ll cover how to properly configure resolution settings, choose ideal export parameters, modify tolerance levels, and more.
Whether you’re new to the world of 3D printing or a seasoned veteran, read on as I reveal my best tips and tricks for getting the highest quality STL files dialed in for your specific printer and application. The Warhammer Universe team also has helpful YouTube tutorials you can reference as a supplement to this written guide. Now let’s get printing!

What Exactly is an STL File?
STL stands for “stereolithography” and it has become the universally recognized file format for 3D printing. An STL file provides a simplified description of a 3D model’s surface geometry, using triangular polygons to approximate curved surfaces.
The triangles establish the exterior shape of the object you intend to print. This faceted representation ignores aesthetic properties like color, texture, and specific materials, focusing solely on defining outer form.
Key Benefits of the STL Format
There are several key reasons why STL persists as the dominant standard across 3D printing:
- – Compatibility with nearly all CAD programs, modelers, slicers and printers
- – Extremely easy sharing between applications and online platforms
- – Ability to represent complex organic and geometric forms
- – Streamlined files allow for faster print times by excluding textures/colors
The simplified triangular representation also makes working with STL files much easier computationally. This is essential when the model gets converted to 3D printer instructions also known as G-Code.
Limitations of STL to Be Aware Of
However, it’s also important to recognize inherent limitations of the basic STL format:
- – No ability to store color, texture or material data
- – Difficult to modify extensively once created
- – Approximated geometry lacks precision of original CAD representation
- – No embedded metadata like units or measurements
With an awareness of both the powers and limitations of STL files, let’s explore how to take control for your 3D printing applications.
Tuning Resolution for Optimal 3D Prints
One of the most critical (and often overlooked) factors for print quality is properly configuring your STL file resolution. The higher the resolution, the more triangular polygons are used and the better curved surfaces can be approximated.
However, extremely high resolutions dramatically increase file size which slows down both modeling software and printers. So finding the ideal balance point is essential.
Matching Digital Resolution to Printer Resolution
As a general rule of thumb, you’ll want an STL resolution that matches or slightly exceeds your printer’s hardware capabilities.
Most layer heights on desktop printers range from 50 microns to 200 microns. To translate – a 100-micron resolution means layers are 1/10th of a millimeter.
So logically, there is no reason to have an STL resolution that is higher than 100 microns in this case. Going above your printer’s resolution only bloats file size with zero tangible benefit.
I like to use the formulas:
Chord Deviation = 1/20 * Printer Layer Height
Normal Deviation = 1 Degree
So on that same 100-micron printer, I would use a Chord Deviation of 5 microns and Normal Deviation of 1 degree. This keeps the faceted mesh clean and crisp while still maintaining reasonable file sizes.
Visually Diagnosing Insufficient Resolution
How can you easily spot an STL file lacking in resolution? Check for visible flat spots or faceted edges along curved contours. This facet “stair-stepping” effect is a tell-tale sign you need to bump up triangle count in those problem regions.
Examine circular holes, arched transitions, rounded bases and domed surfaces closely under magnification. Any flatness or hard edges that should be smooth continuous curves indicates insufficient resolution.
The Goldilocks Principle: Just Right Resolution
When iteratively dialing in STL resolutions, it can be helpful to consider the “Goldilocks Principle” – tuning settings until they feel “just right.” Not too big, not too small, but just right!
If sliced models still show jagged edges, slowly reduce chord deviations by 50% until reaching desired curvature smoothness. Should processing become excessively slow or file sizes balloon unnecessarily, relax resolutions until finding the best blend of speed and precision.
Let’s now explore exactly how to tweak STL optimization inside common CAD programs.
Configuring Export Settings for Ideal STLs
While most CAD software can natively export to STL, rarely will the default parameters yield optimized results for 3D printing. Understanding key export controls is imperative for fine-tuning.
The two most critical parameters that require close attention are Chordal Tolerance (or Deviation) and Angular Tolerance (or Deviation).
Mastering Chordal Tolerance
Chordal Tolerance/Deviation defines the maximum distance between the original CAD geometry surface and the exported STL mesh surface. In other words – it controls overall dimensional accuracy of the printed model relative to original design intent.
If set too high, visible flat spots and hard edges may now appear in what should be smooth flowing contours. If set extremely small, file sizes explode needlessly.
As referenced earlier, values around 1/20th of your printer layer resolution (in microns or mm) tends to yield a geometrically accurate mesh suitable for 3D printing. Also ensure Chordal Deviations do not drop below 5 microns, as it provides rapidly diminishing returns.
Balancing Angular Tolerance
While Chordal focuses on absolute global accuracy deviation, Angular Tolerance instead cares about relative smoothness between neighboring triangle facets in the mesh. This helps better approximate small curves not fully captured within coarse Chordal limits.
An excessive angular jump between facets can completely distort or decimate delicate features. Tightening angular tolerance nicely blends and gradients the mesh on challenging areas like small fillets, holes or embellishments.
My rule of thumb for angular tolerance is 1 degree deviation across all models. Some software constrains between 0 and 1 as a dimensionless “angle control” – 0.25 is then a good starting point.
With both chordal and angular tolerance covered, let’s overview specific export settings inside popular CAD programs.
Recommended STL Export Settings By Software
Here are my recommended configurations for clean STL generation across some of the most common CAD platforms:
Autodesk Fusion 360
- Format: Binary
- Surface Deviation: 100 microns
- Normal Deviation: 1 degree
PTC Creo
- Format: Binary
- Chord Height: 100 microns
- Angle Control: 0.25
Solidworks
- Format: Binary
- Deviation: 100 microns
- Angle: 1 degree
And there you have it – perfectly configured STL export presets for flawlessly smooth 3D prints! Don’t hesitate to push resolutions and tolerances through iterative experimentation until finding “Goldilocks” settings that are just right.
Pro Tip: Try the “Skyscraper Technique”
Once you have STL export mastered, an advanced technique to truly maximize print quality is the “Skyscraper.”
The concept involves sampling multiple existing STL files for a model, combining the best elements of each, then boosting resolution well beyond source settings. The analogy is that you construct an epic “skyscraper” by synergizing what worked from other “buildings”.
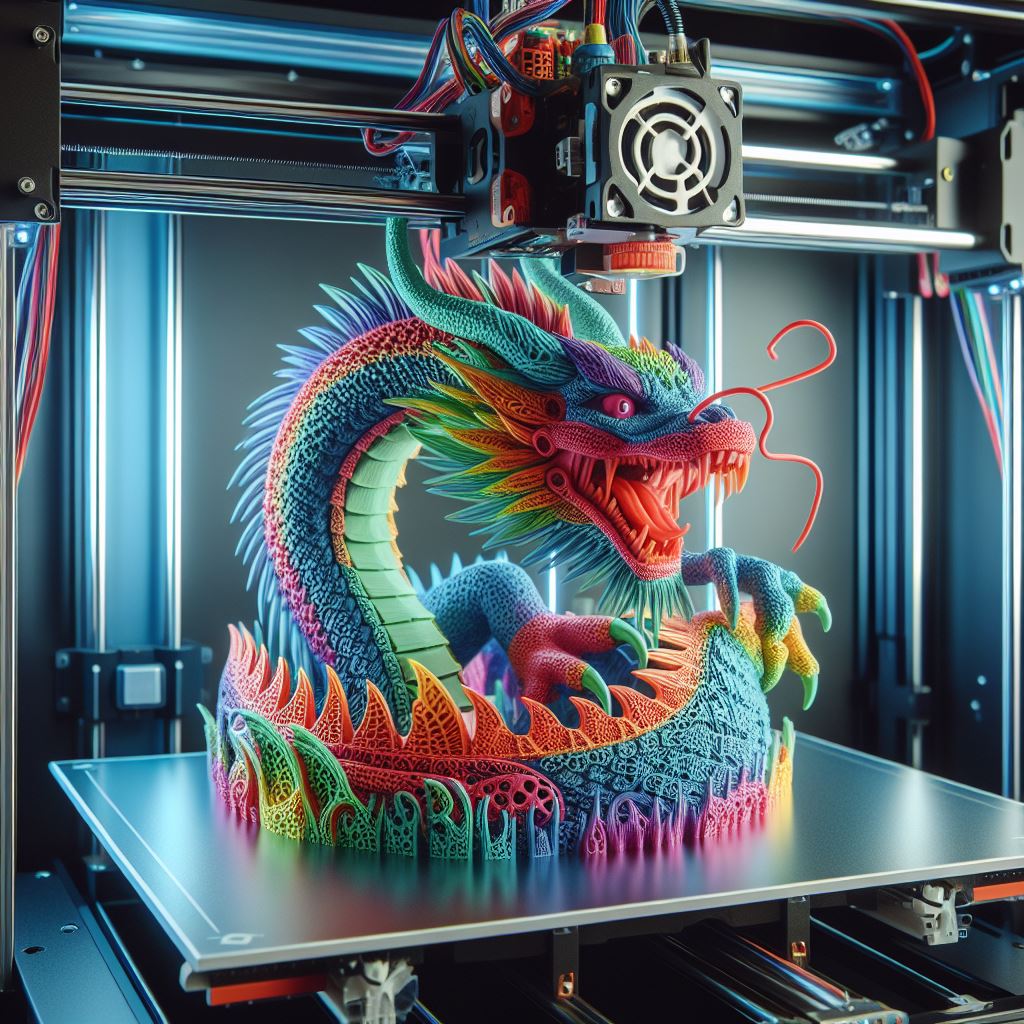
Let’s say I have found 3 great STLs for a miniature dragon model online, but each one has minor flaws in certain localized areas I’d like to improve.
I can import all 3 variants into mesh editing software like Blender or MeshMixer. I can then meticulously patch together the ideal composite from edited pieces of all 3.
The remixed Frankenstein creation capitalizes on localized strengths while mitigating weaknesses globally. I would then crank up chordal and angular deviation tolerances 2-3X my printer’s resolution for an incredibly high-res mesh.
Alright – hopefully the STL insights shared here give you the confidence to dive in producing impeccably smooth, well-tuned models ready for flawless 3D printing! Don’t hesitate to reference back or reach out to the Warhammer Universe team via with any other questions. Game on!
Related Articles
For comprehensive tactics and strategy to boost your the best 3D printers for printing miniatures, read our in-depth guide. We cover crucial considerations from printer selection to optimizing print settings for superb results tailored to your models and application.
Discover our top tips in this orientating and supporting models guide for 3d printing for foolproof resin 3D printing. Optimal orientation minimizes failures while maximizing detail and efficiency.
Learn techniques to how to get better quality and fix issues in 3d printing through fine tuning prints. We explain key settings for sharper details, faster prints and reliable bed adhesion across various materials and model types.
Achieve professional model finishing with our post processing 3D prints best practices. We cover preparing, cleaning and painting techniques for smooth, vibrant miniatures true to your creative vision.
Troubleshoot common 3D printing problems for improved reliability and results through our actionable solutions guide. Quickly identify and resolve warped prints, stringing, bed adhesion issues and more regardless of your skill level.
Learn techniques to scan and optimize models for flawless 3D printing. We explain digitizing models, repairing scans and exporting the perfect printable file to bring your creations to life.
Achieve striking custom colors by mastering multi-color filament mixing. Our guide covers choosing compatible materials, adjusting settings and advanced mixing methods for vibrant blends.
Print intricate miniatures with print speed vs quality for 3d printers by balancing speed and quality. Learn calibration techniques identifying the sweet spot retaining detail without sacrificing strength or productivity.
Printing detailed miniatures and terrain? Learn Warhammer 3d printing tips for optimizing supports, part strength, detail retention and efficient assembly. Achieve professional tabletop quality affordably.
Achieve reliable first layer adhesion crucial for 3D printing success with miniatures through leveling, setup tips and material recommendations minimizing warping and detachment issues.